


The digital world is rapidly evolving with growing customer demand for fresh and appealing content no matter the hour of the day. Hence, businesses are constantly seeking new ways to keep their content up-to-date across all touchpoints. This surge has pushed them to leverage a robust content management system (CMS) such as Strapi. But remember that building an API-based application is not the end goal; instead, investing in a robust hosting and deployment platform such as Azure is also essential. This helps in seamlessly hosting your Strapi web app and allows you to create and deliver content just as your customers want.
Understanding Strapi and Azure Service Apps
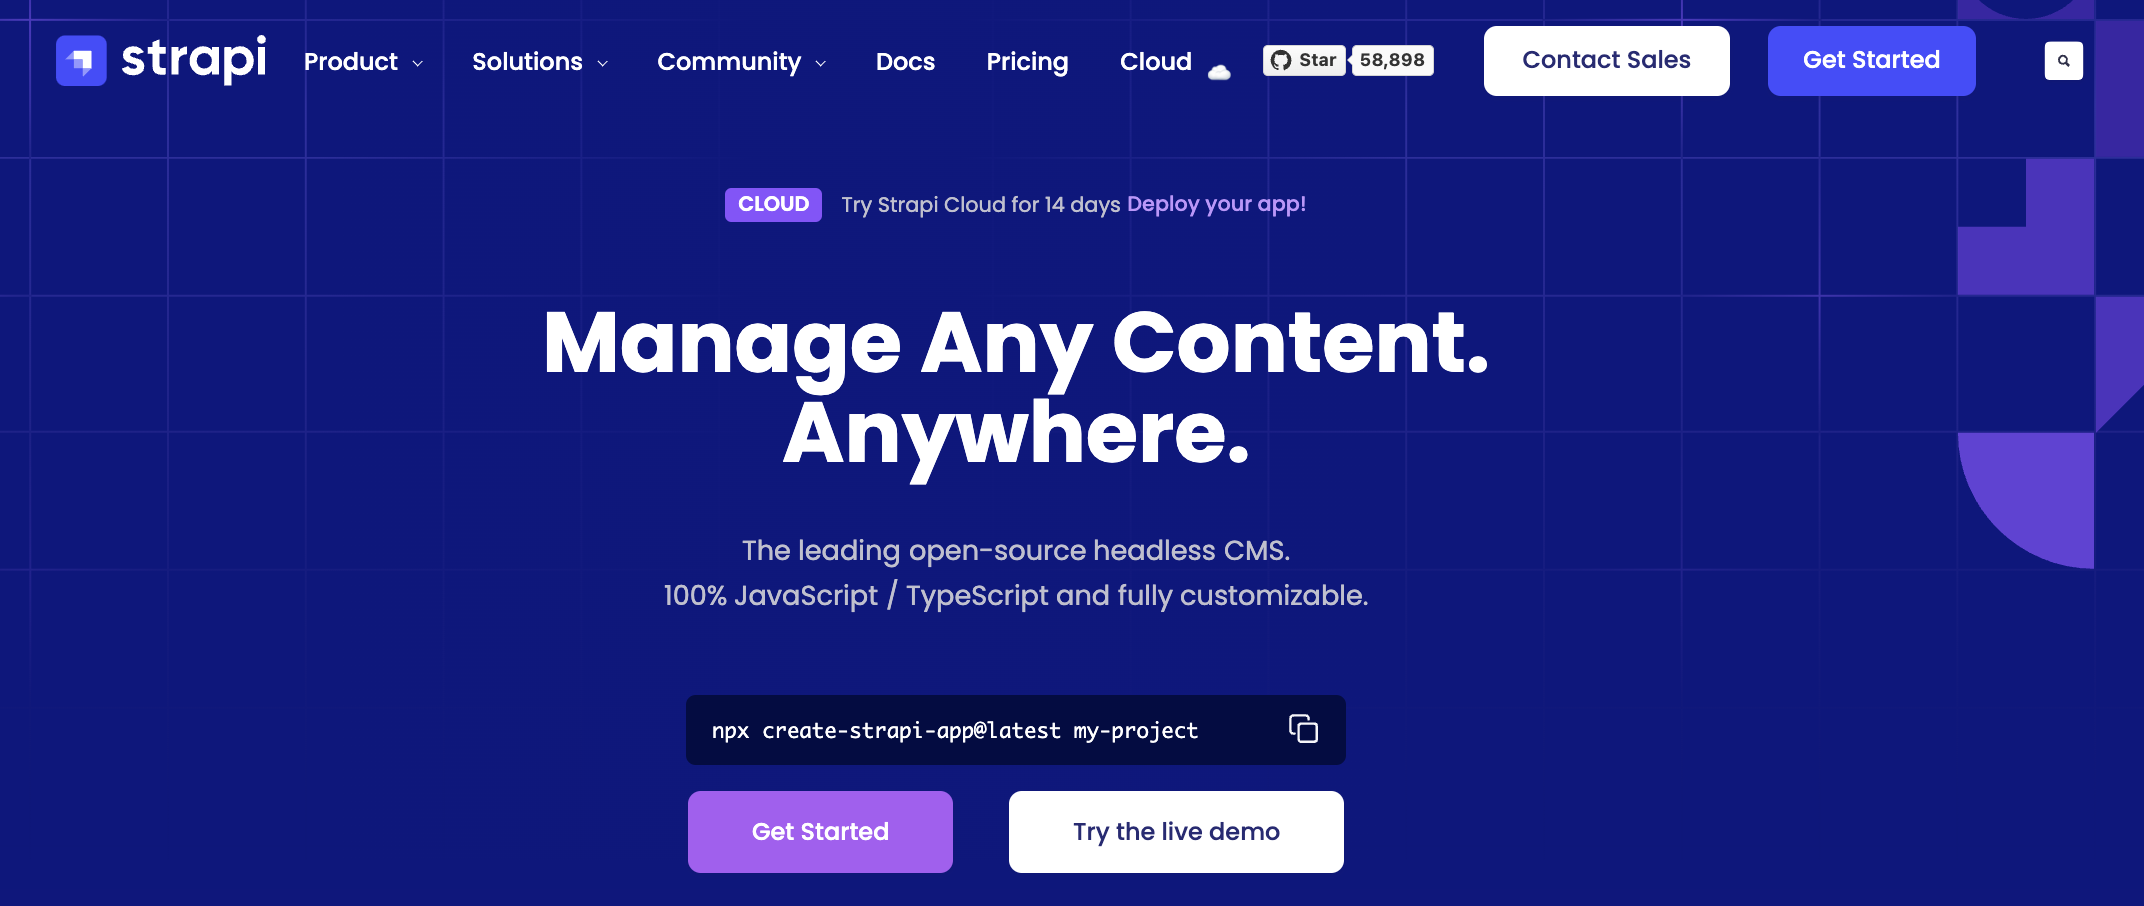
Strapi is an open-source headless CMS that gives you complete flexibility to create, edit, and manage the content in the backend and deliver it via APIs across all digital touchpoints. Here, the backend content repository is kept decoupled from the frontend, connected via APIs. This keeps the changes in content flexible, allowing you to display it everywhere from a single source of truth.
On the other hand, Azure Service Apps offers platform-as-a-service capability to host web apps securely. This makes it a strategic choice for deploying Strapi applications and running your operations smoothly.
Benefits of Choosing Azure Service Apps for Strapi Deployment
When you choose Azure Service Apps, it provides various features that ensure your Strapi-based applications can upscale as your business grows and keep your content secured in a single, centralized system.
1. Auto-Scaling
The Azure Service Apps platform provides auto-scaling capabilities, allowing your Strapi application to adapt dynamically to varying workloads.
2. Continuous Deployment
With the DevOps approach in action, Azure Service Apps utilizes a continuous deployment pipeline to implement automatic code updates and lead to continuous improvement in the application.
3. Seamless Integration with Azure Ecosystem
Another advantage of choosing Azure Service Apps is that it enables integration with the complete suite of the Azure ecosystem. This provides the Strapi development company with a platform to deploy and manage applications within the Azure environment.
4. Increased Security
Security is the major concern when deploying any software or application. Azure provides a built-in suite of security features, such as HTTPS support, custom domain integration, and built-in authentication mechanisms for enhanced security.
5. Monitoring and Analytics
Azure offers analytics and monitoring tools that empower Strapi experts to gain insights into the deployment process. It helps in monitoring key metrics, identify bottlenecks, and troubleshoot issues wherever required.
Prerequisites for Setting up Strapi with Azure
1. Azure Account
To begin with, you must have an Azure account. If you don’t have an account already, you can sign up and set up your account on the Azure portal.
2. Azure CLI
The next thing you require is Azure Command-Line Interface (CLI). Install it on your local machine to connect and execute administrative commands on Azure resources and automate repetitive tasks.
3. Node.js and NPM
Ensuring that both Node.js and NPM are installed is a crucial requirement for Strapi deployment. They are available for download from their official websites.
4. PostgreSQL or MySQL
Ensure that PostgreSQL and MySQL are installed on your computer to enable seamless data storage and manage complex queries.
5. Git
Make sure that Git, a version control system, is also installed on your computer to allow source code management and hosting of your Strapi project.
Steps for Setting Up Strapi with Azure Service Apps
Setting up Strapi with Azure Service Apps involves certain steps to complete the deployment process without any errors or data security issues.
Step 1: Setting Up Strapi Locally
Create a new Strapi project locally using the following command:
|
npx create-strapi-app@latest strapi-azure-demo |
This will set up a new Strapi project in the strapi-azure-demo directory. For any further reference, you can visit the official website of Strapi.
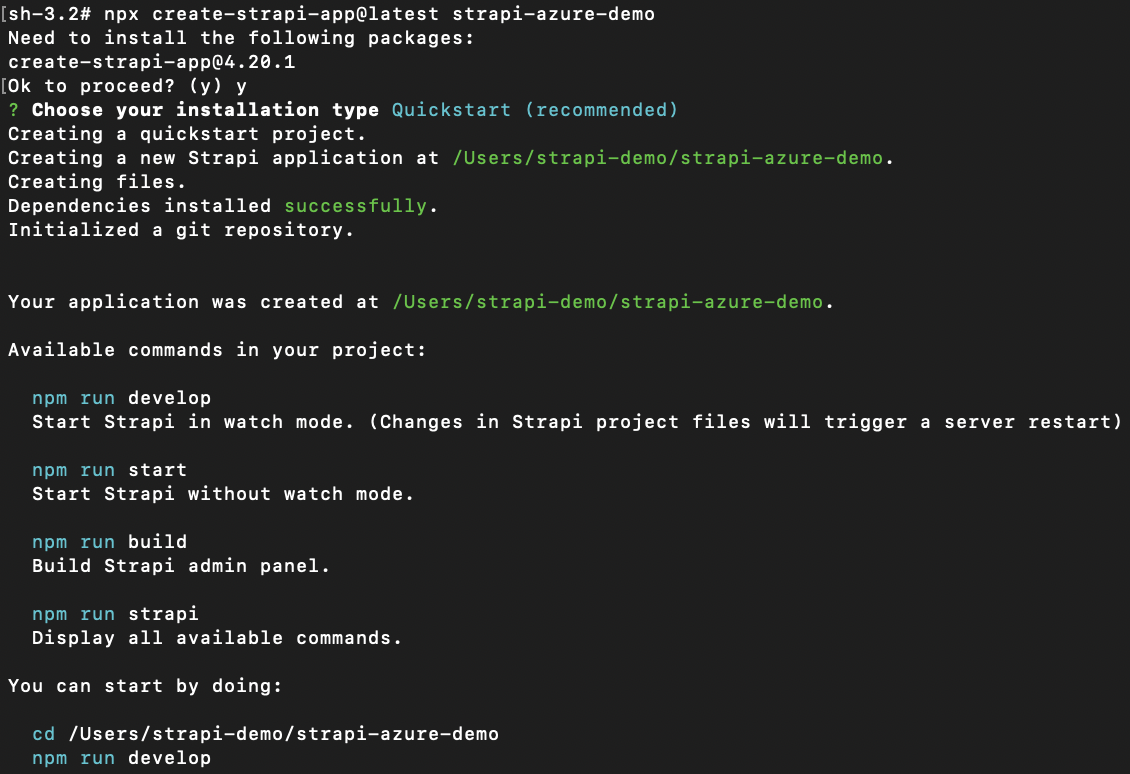
Once the installation is complete, you can explore your new Strapi project by running the following commands in your Strapi project installation:
|
npm run develop |
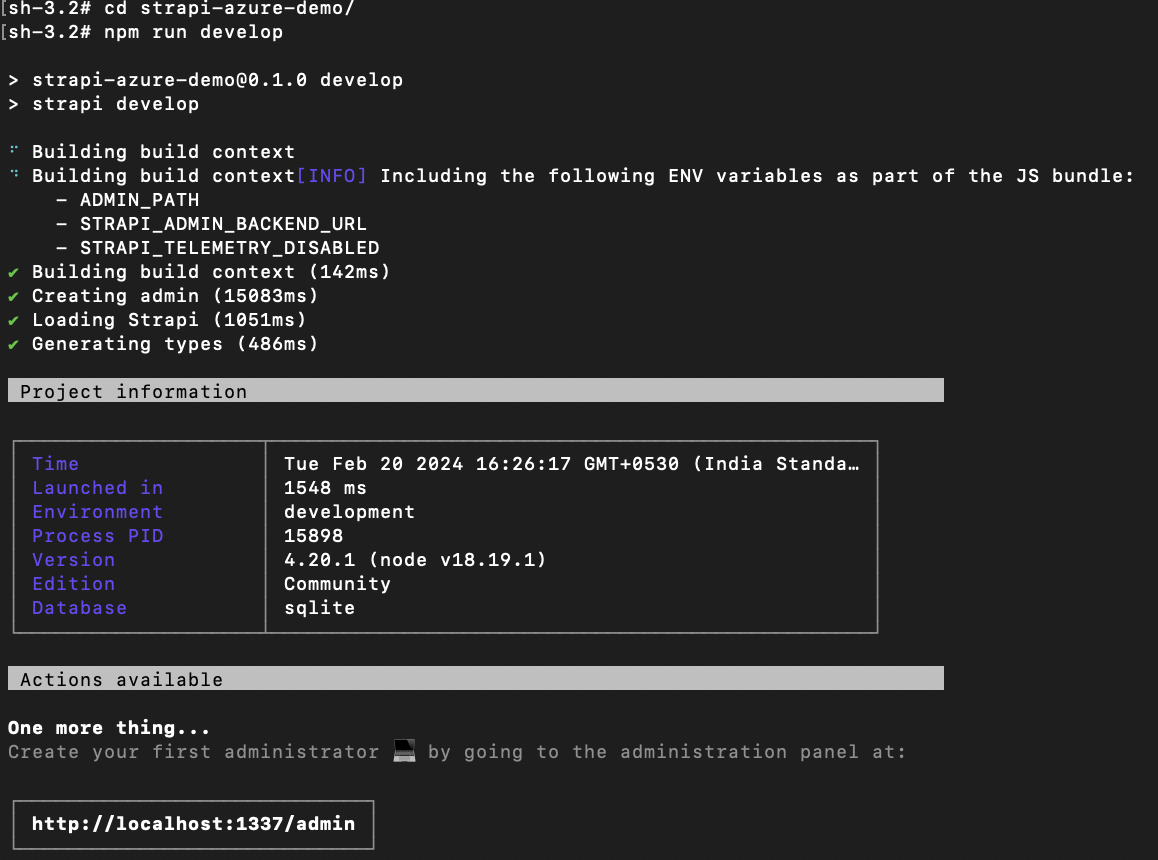
Once the above command returns a successful message, please open the link http://localhost:1337/admin to access the Strapi Admin panel.
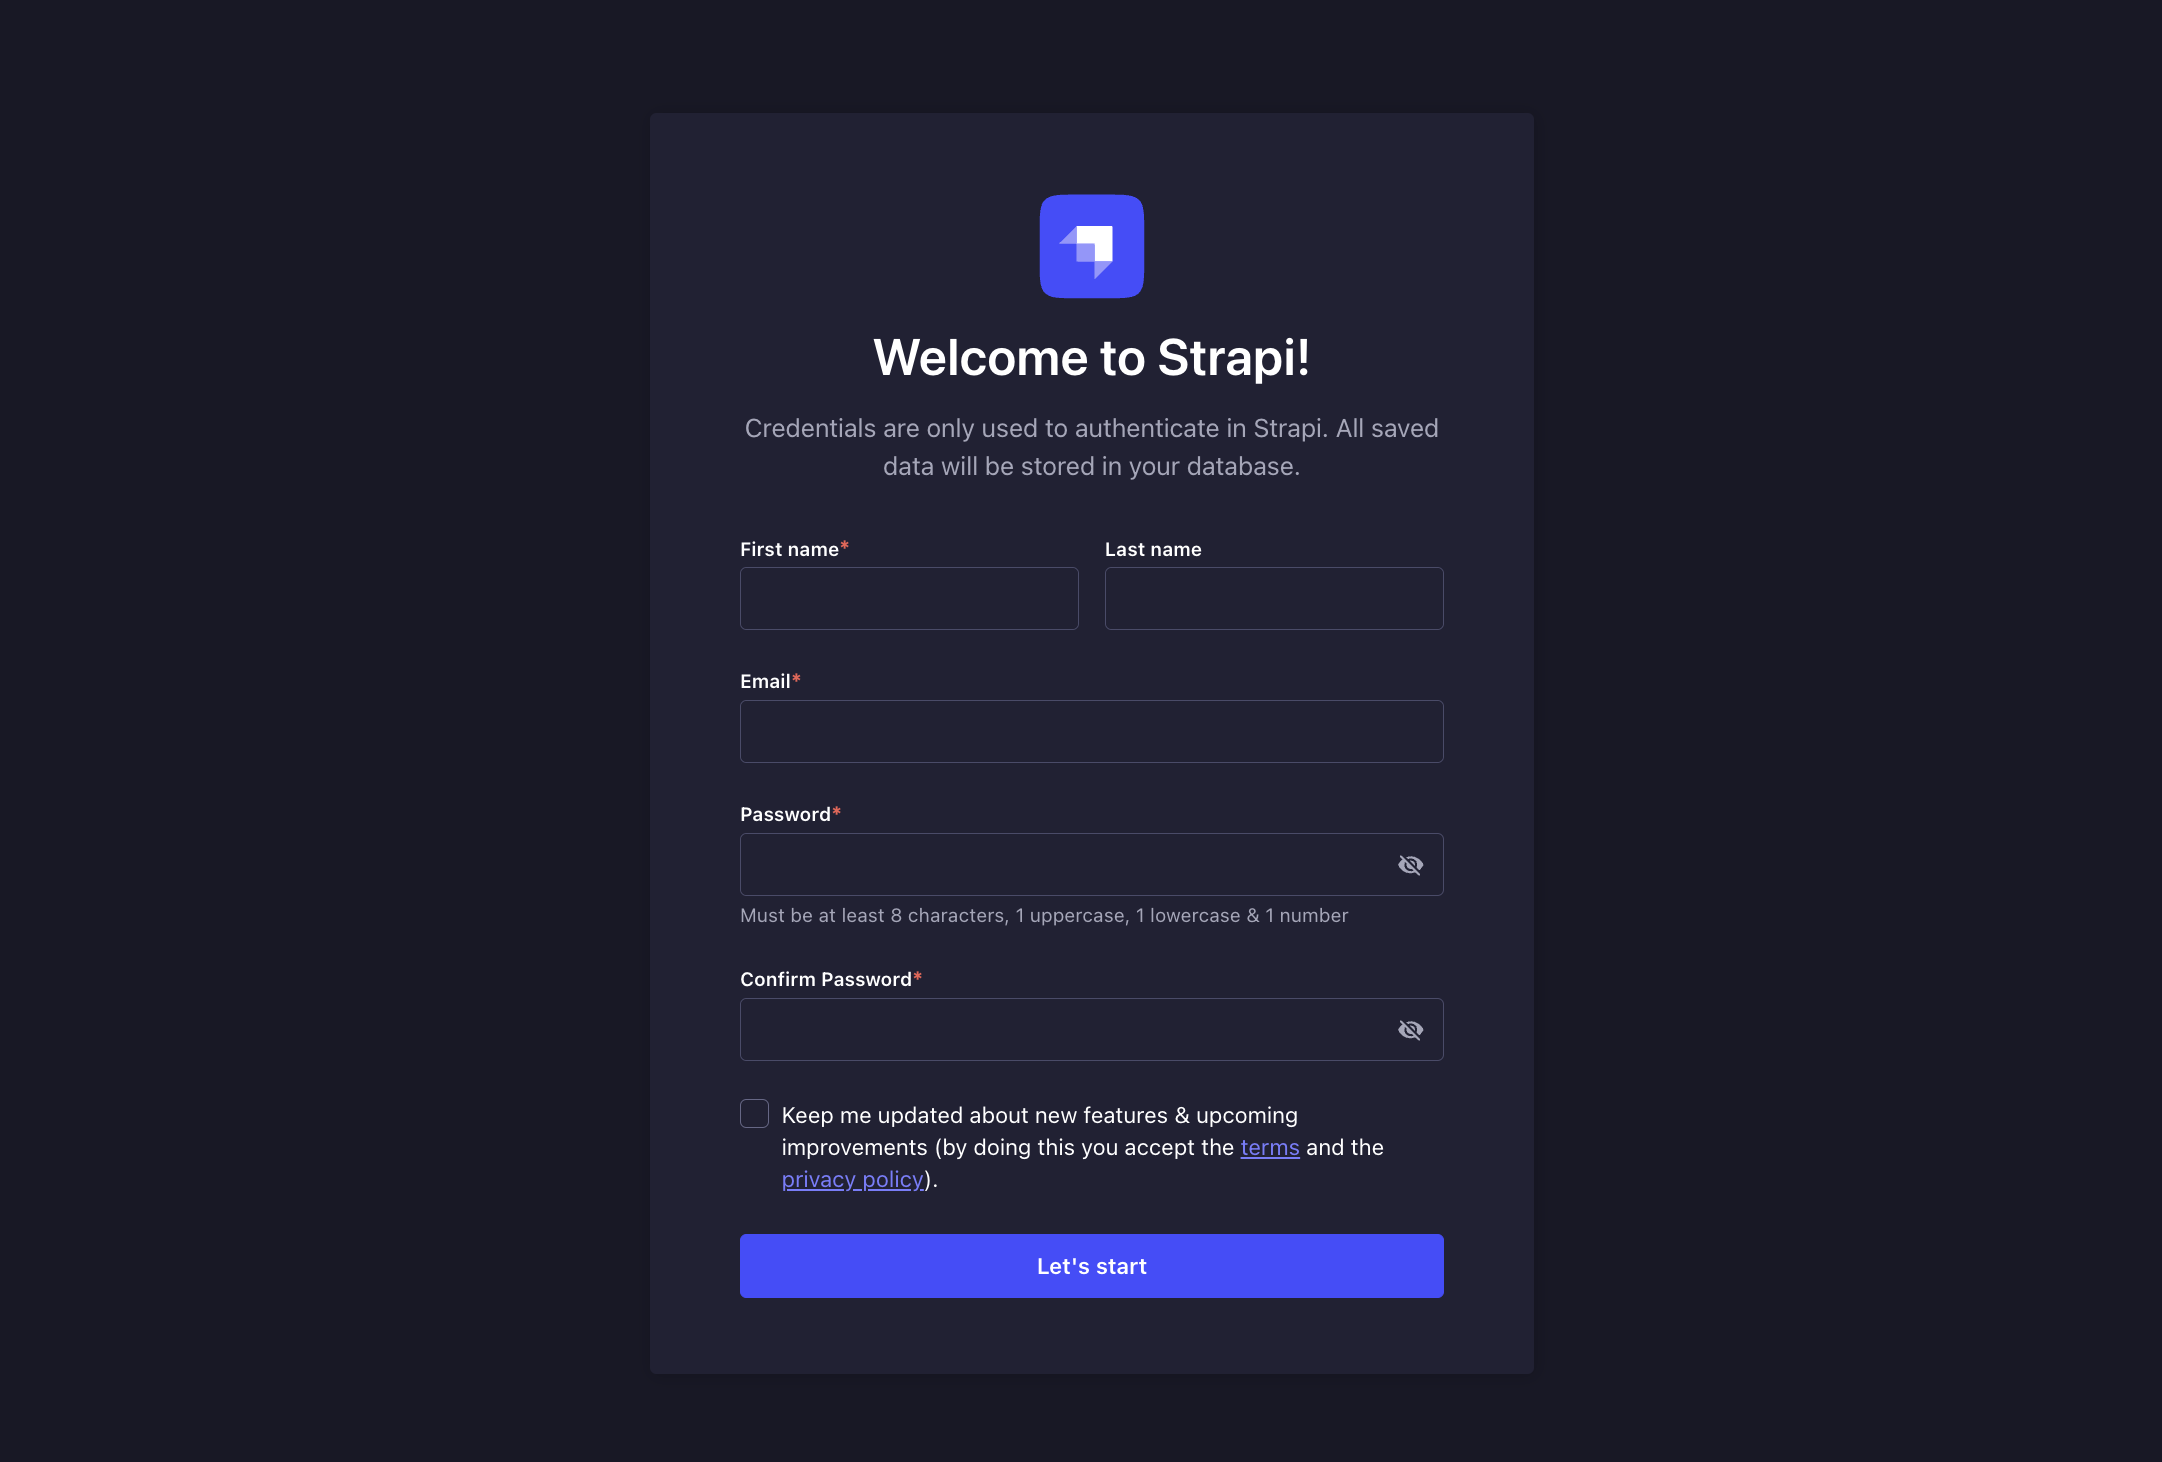
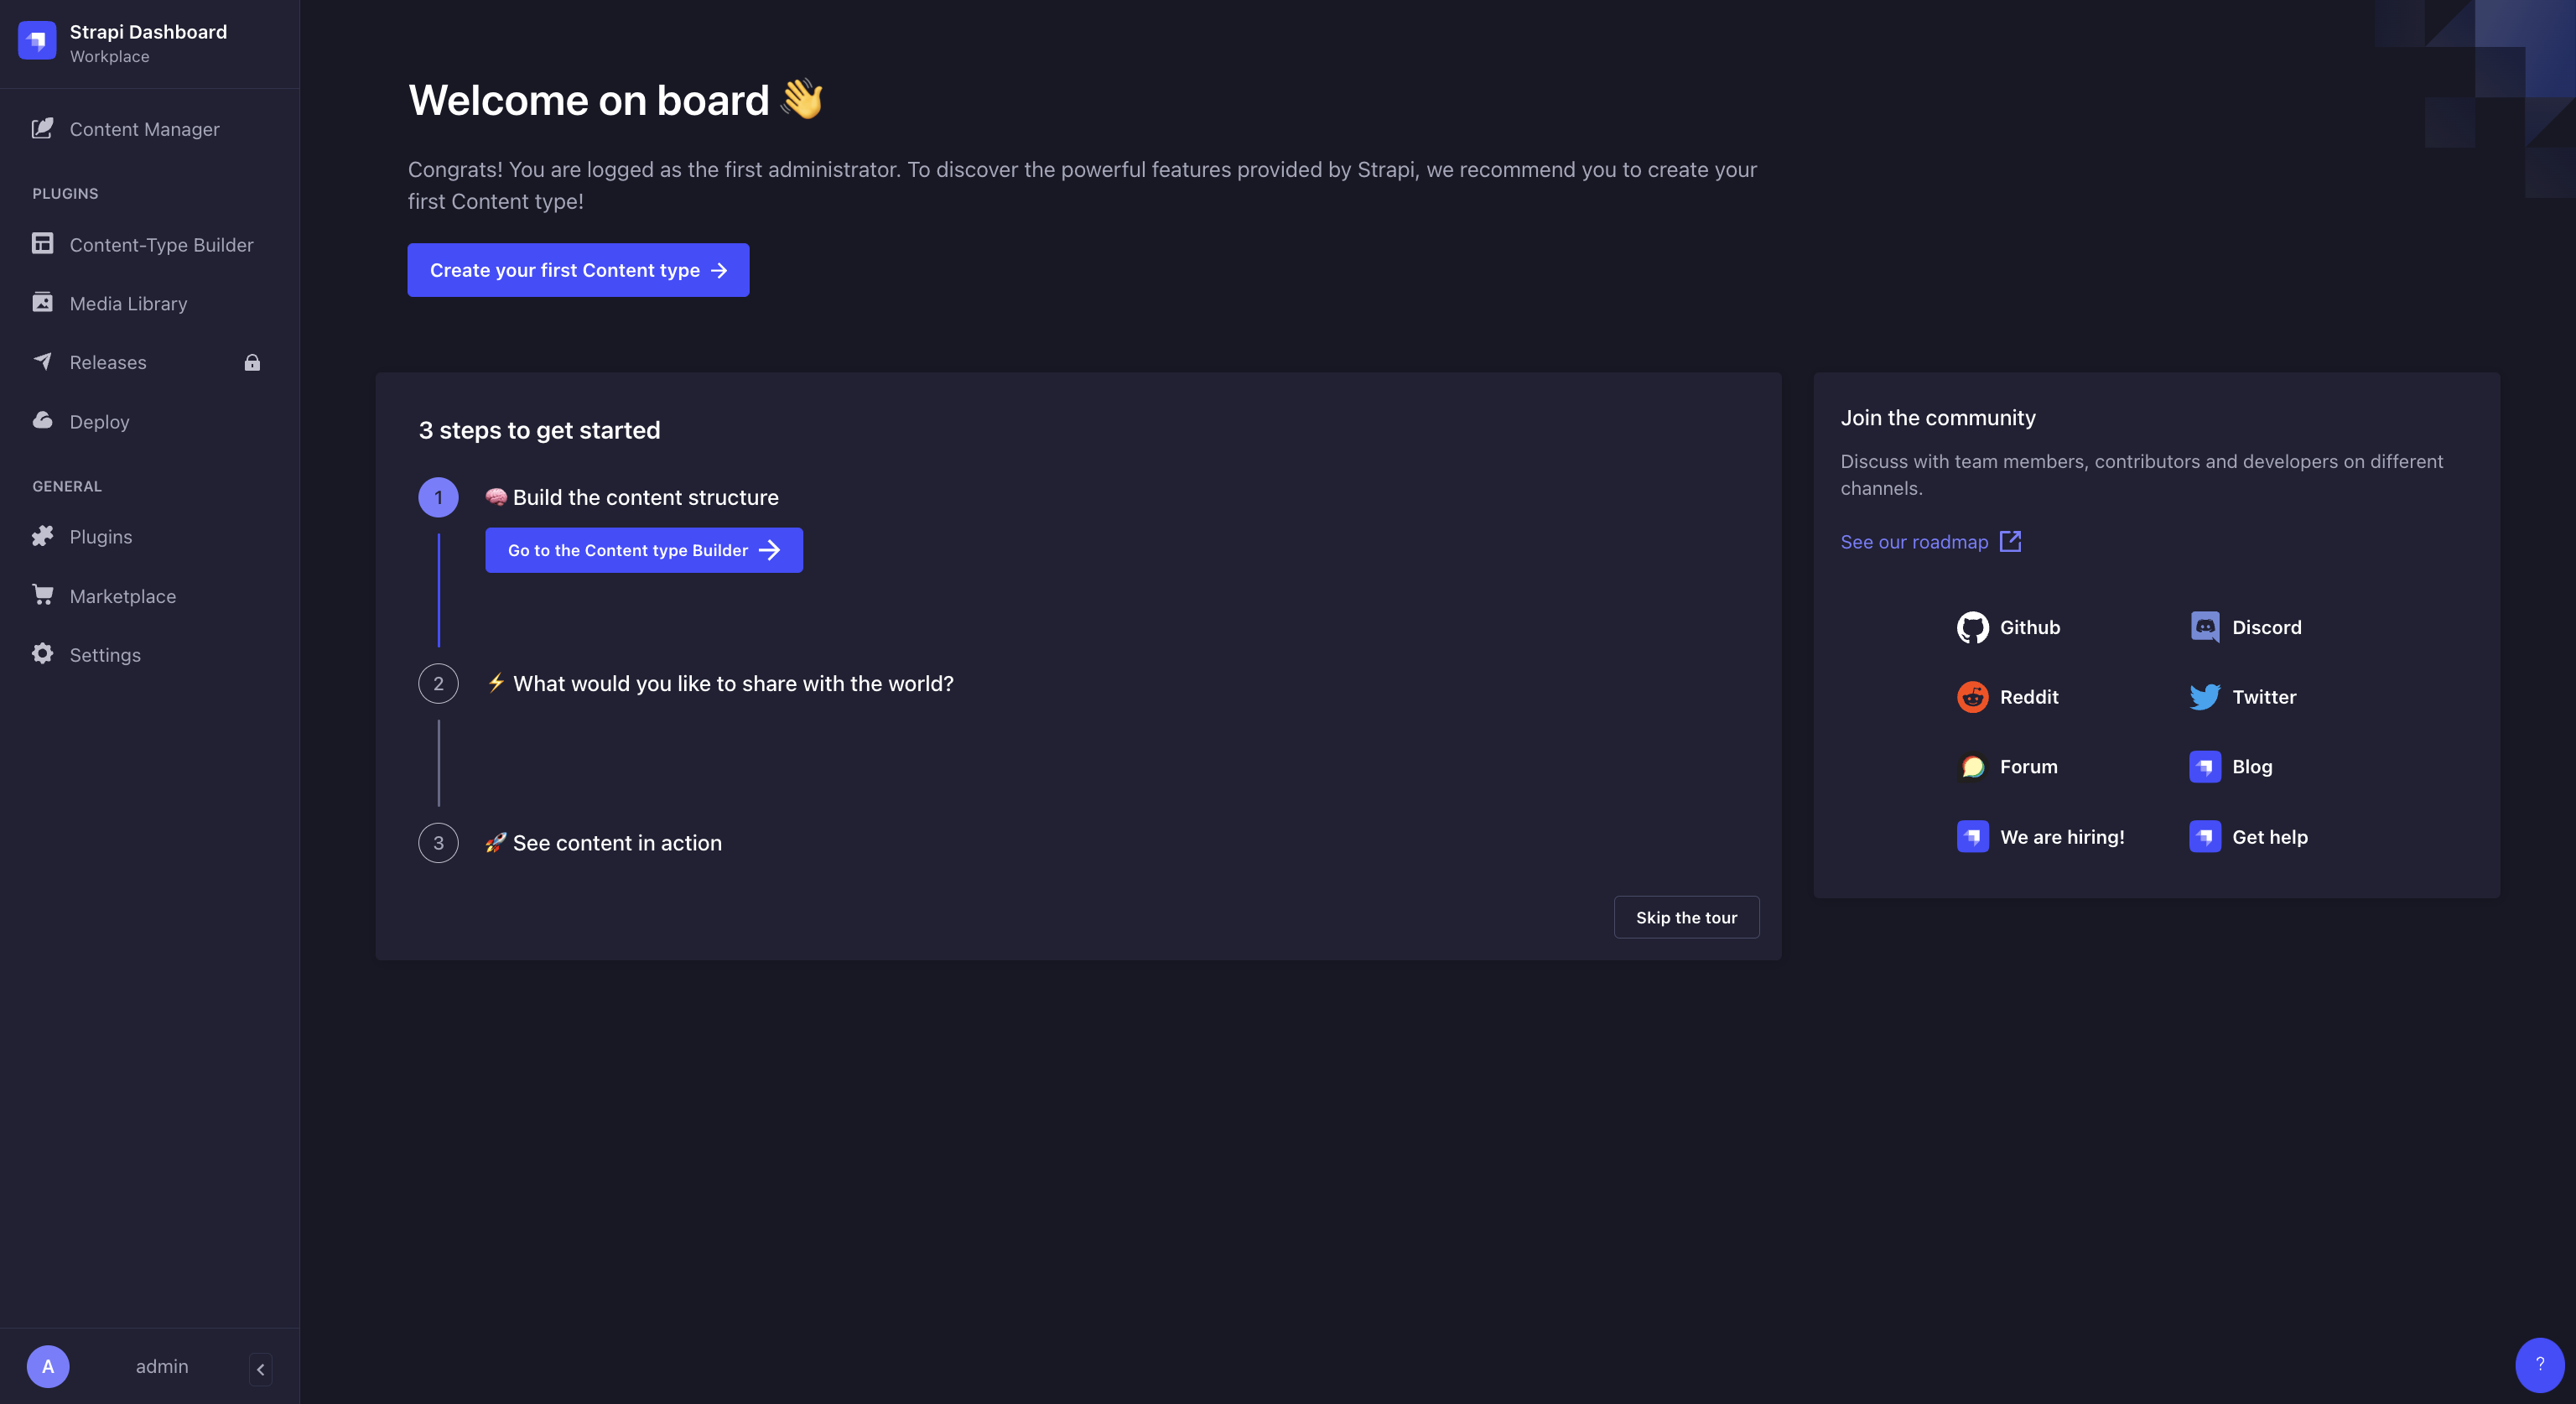
You will also have to sign up as an admin user to access the Strapi Dashboard and start adding content types.
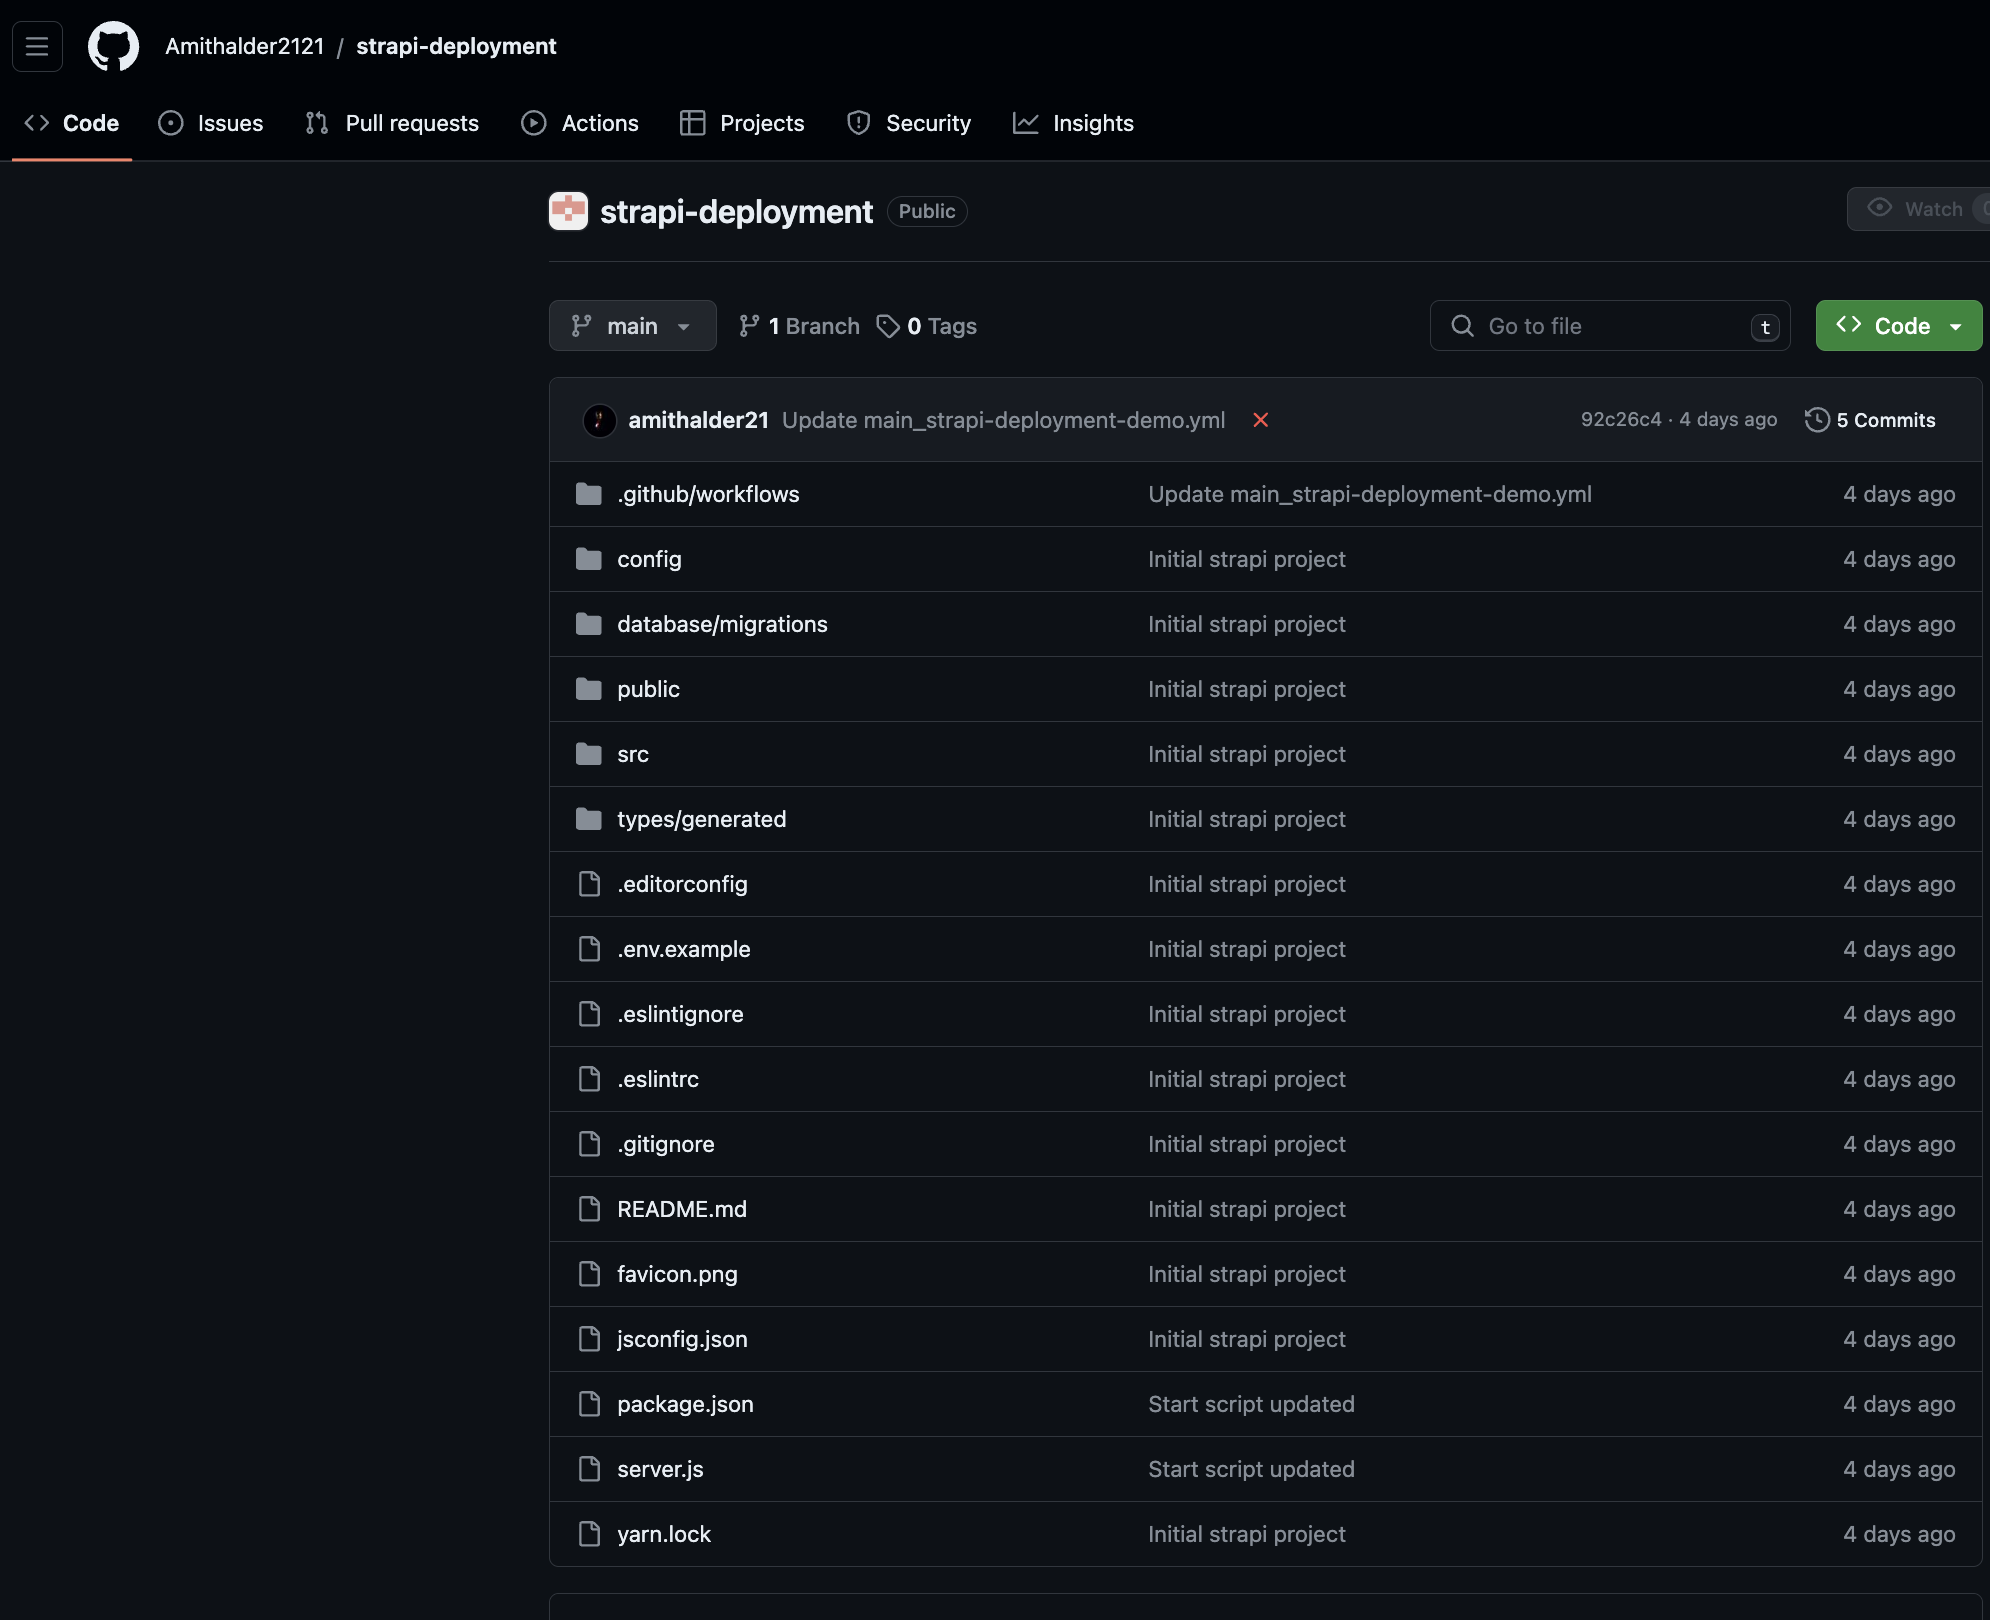
Step 2: Pushing to Git
The next step is to create a new repository on GitHub to host your Strapi project. Then, push your local Strapi project to the GitHub repository.
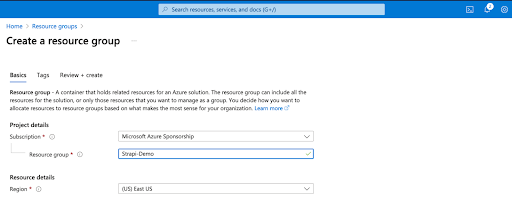
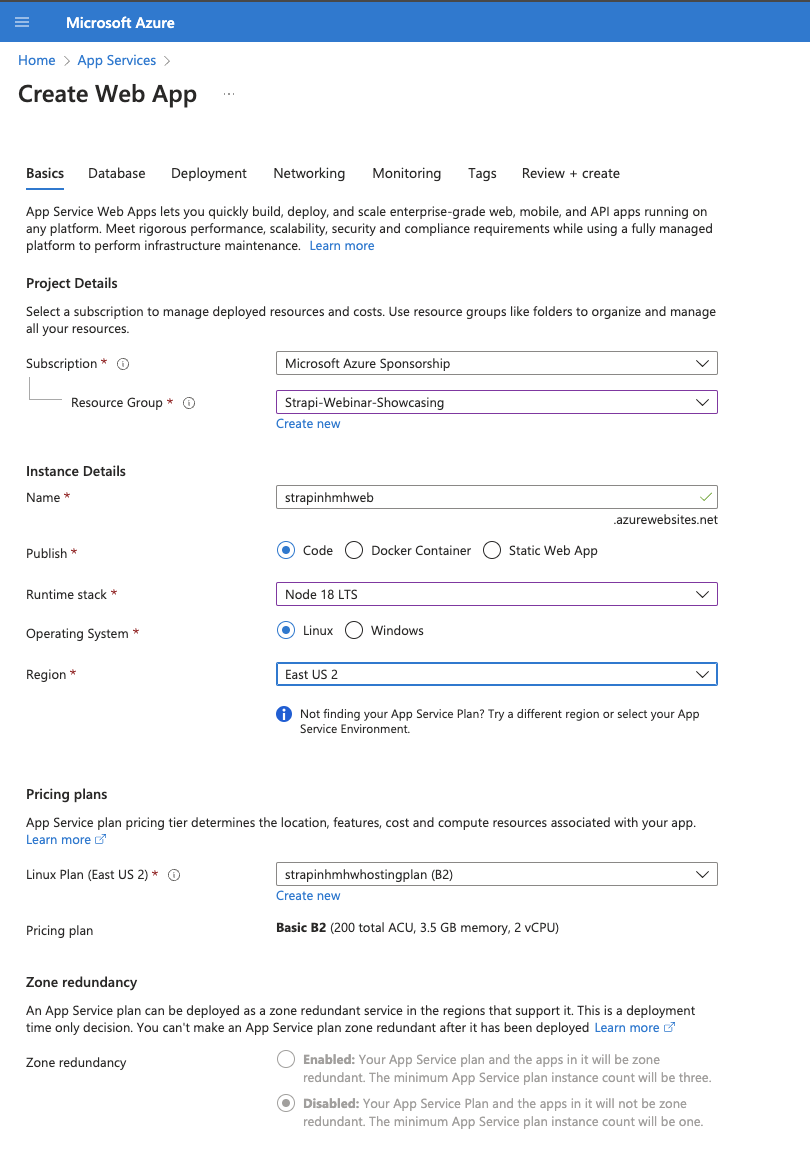
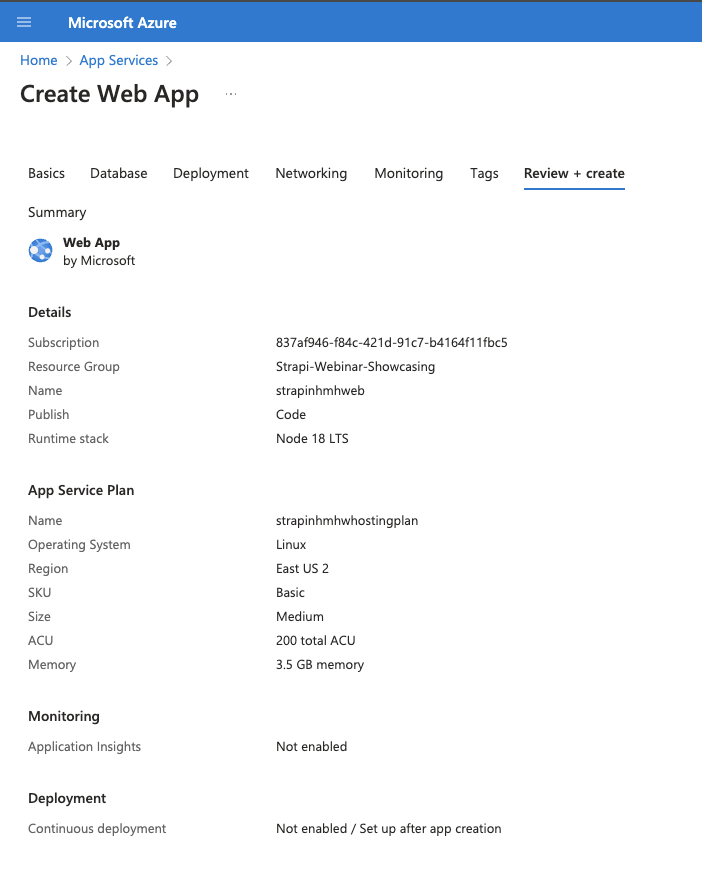
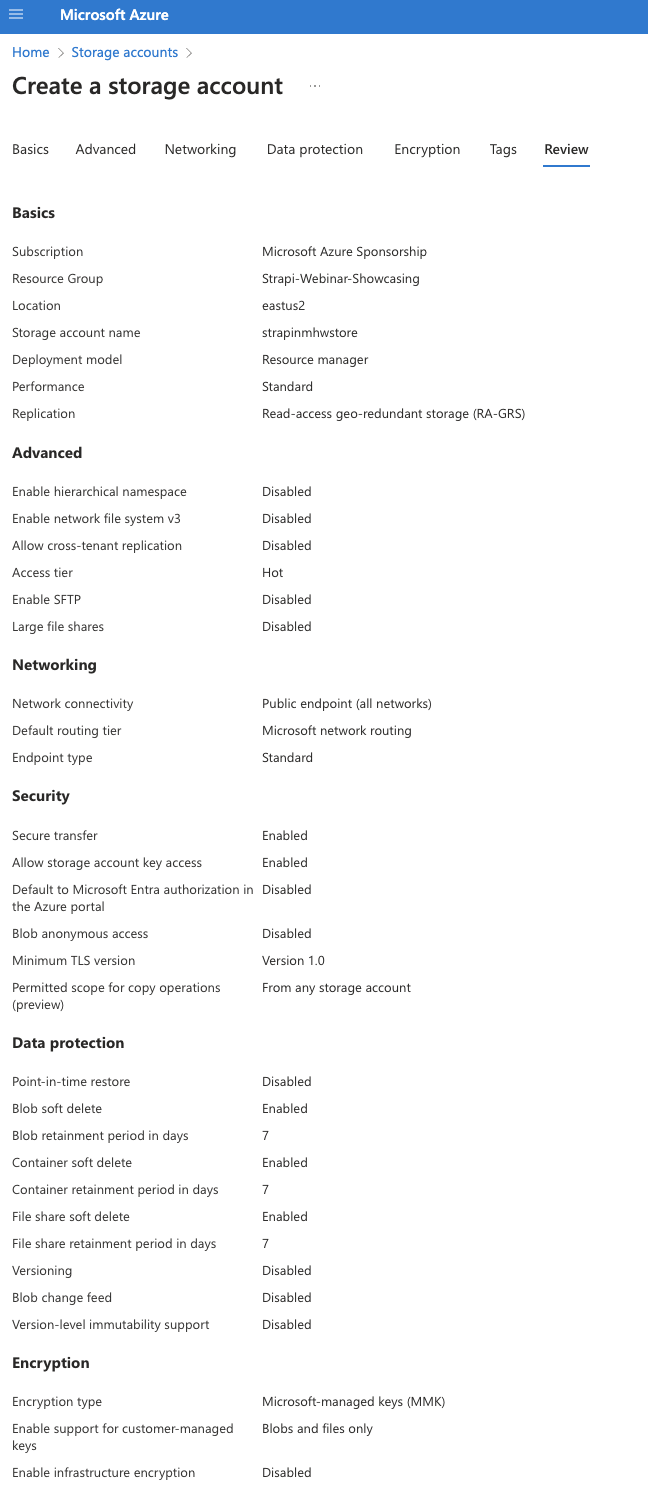
Step 3: Azure Service App Plan
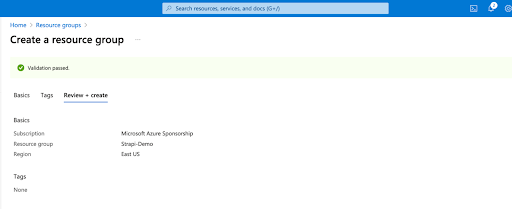
A prerequisite to this step is to create an Azure account or use the existing one. Please login to the Azure account and create a new Resource Group in the Azure portal.
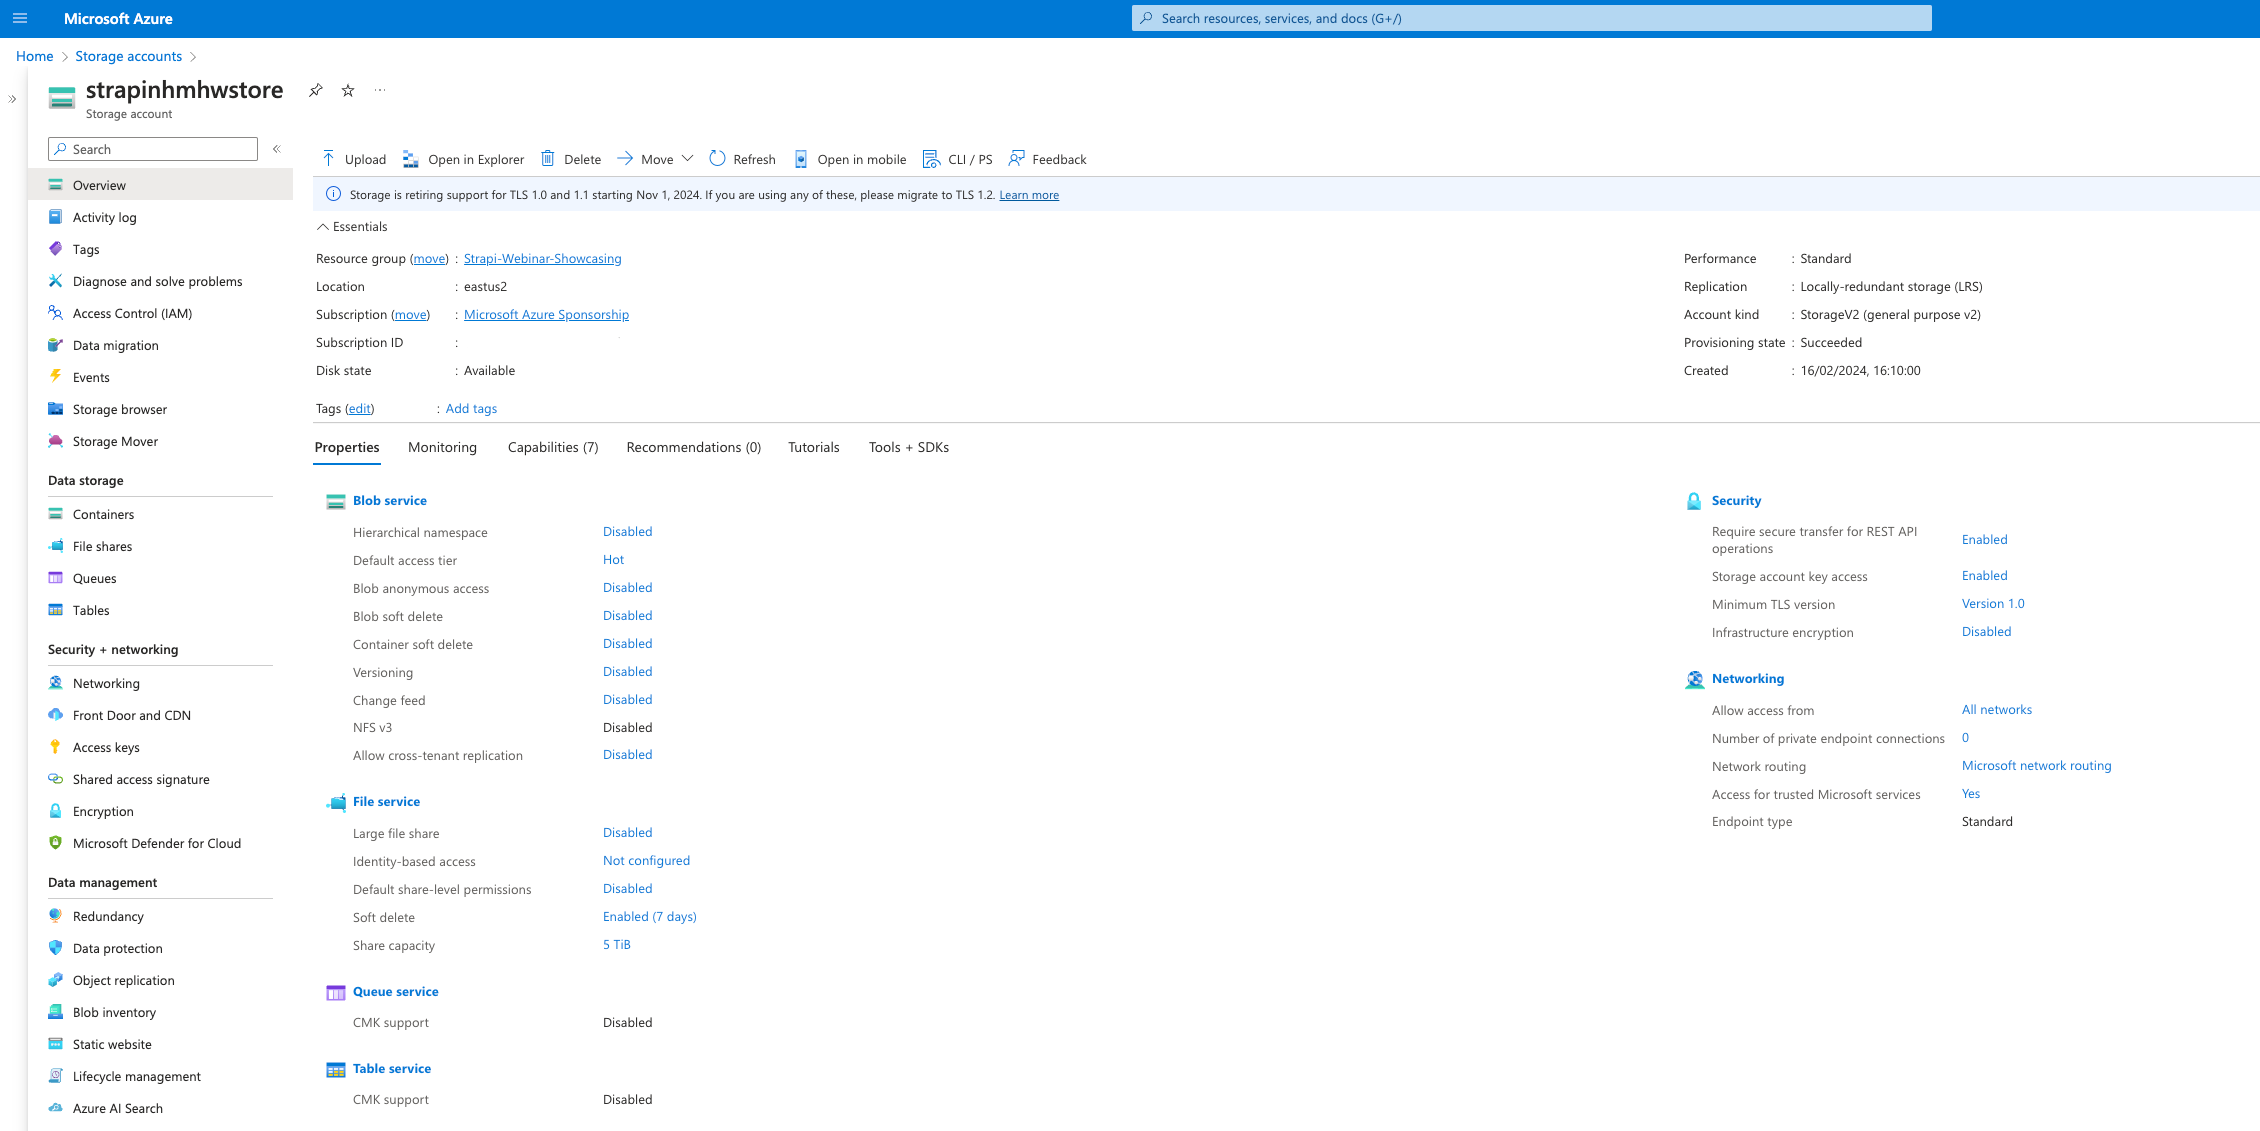
Step 4: Integration
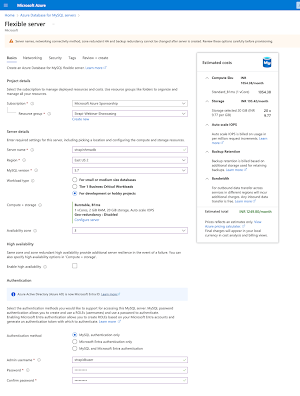
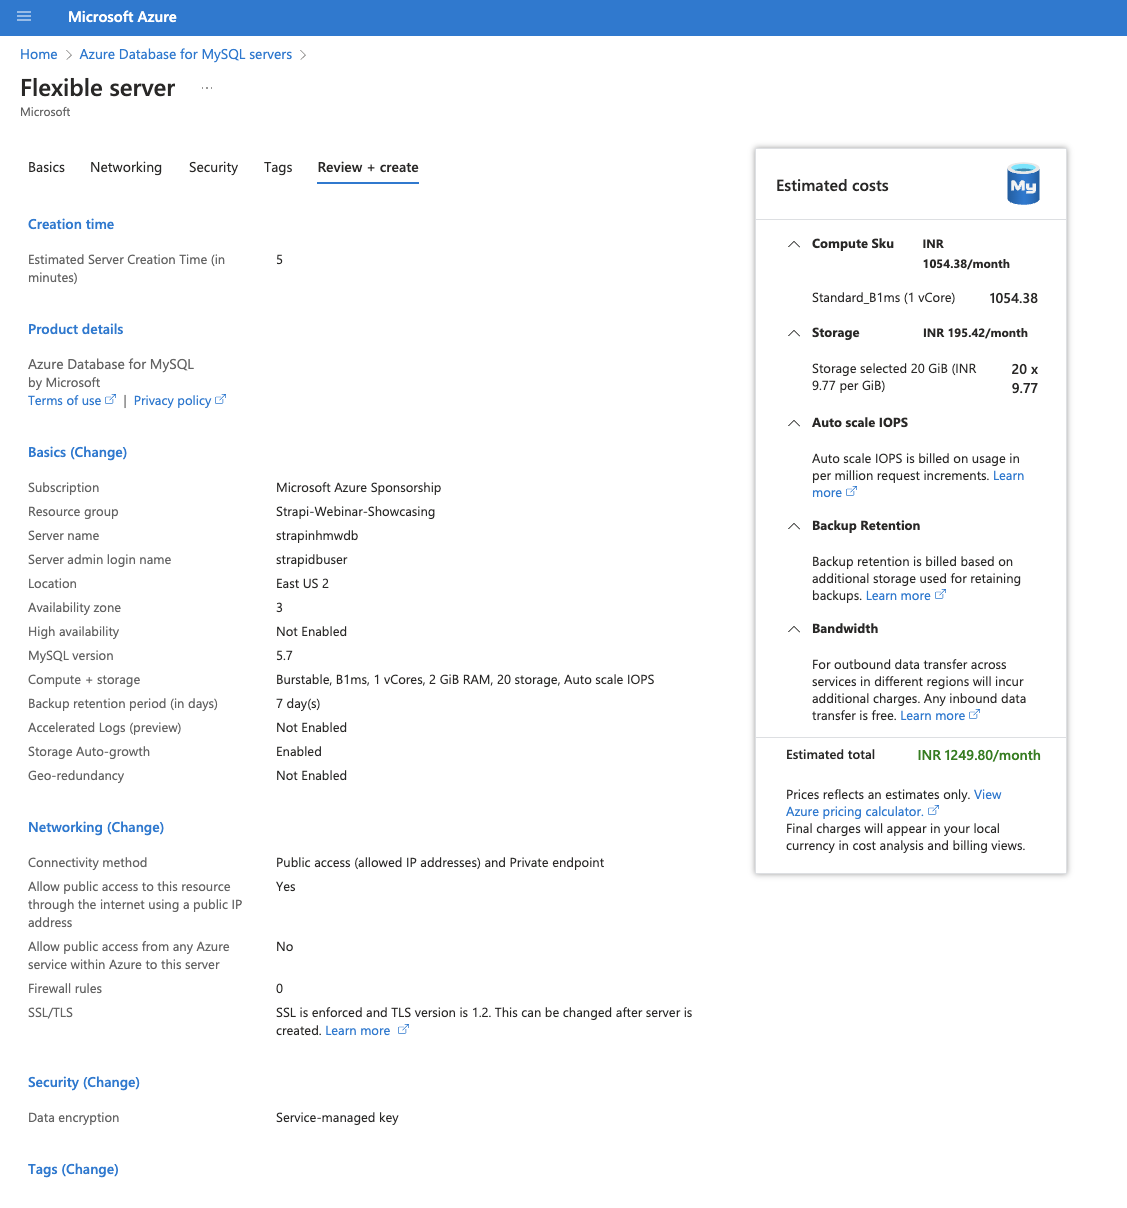
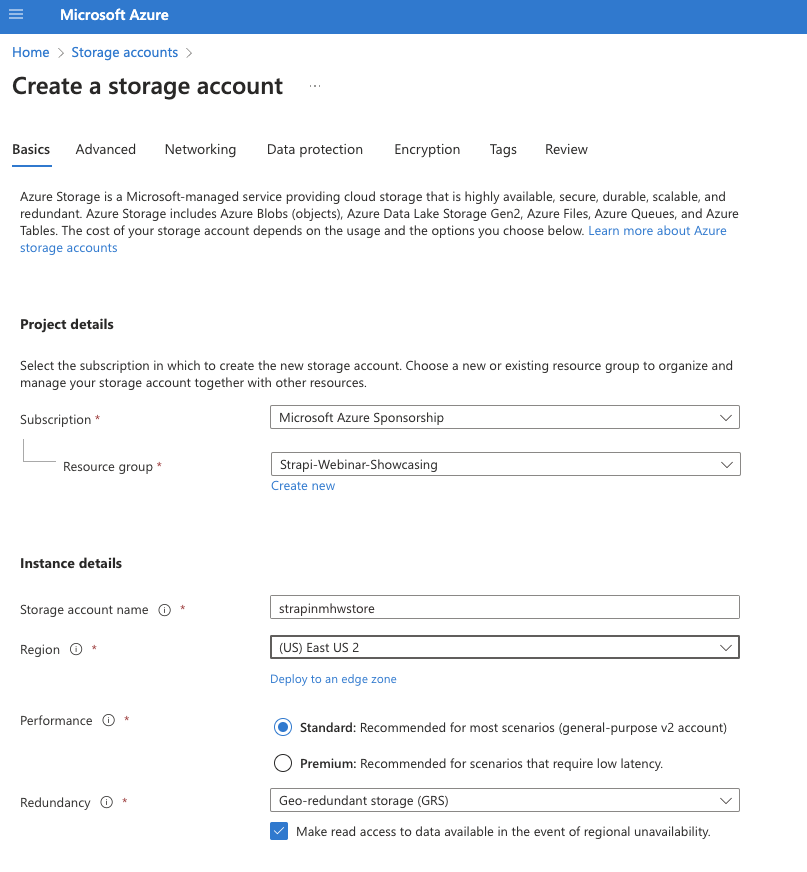
Strapi works with multiple relational databases, please have a look at the database configuration options here. In this step, we will configure Strapi to use the Azure Database for MySQL and a Storage Account for handling assets like Images, Videos and other media contents.
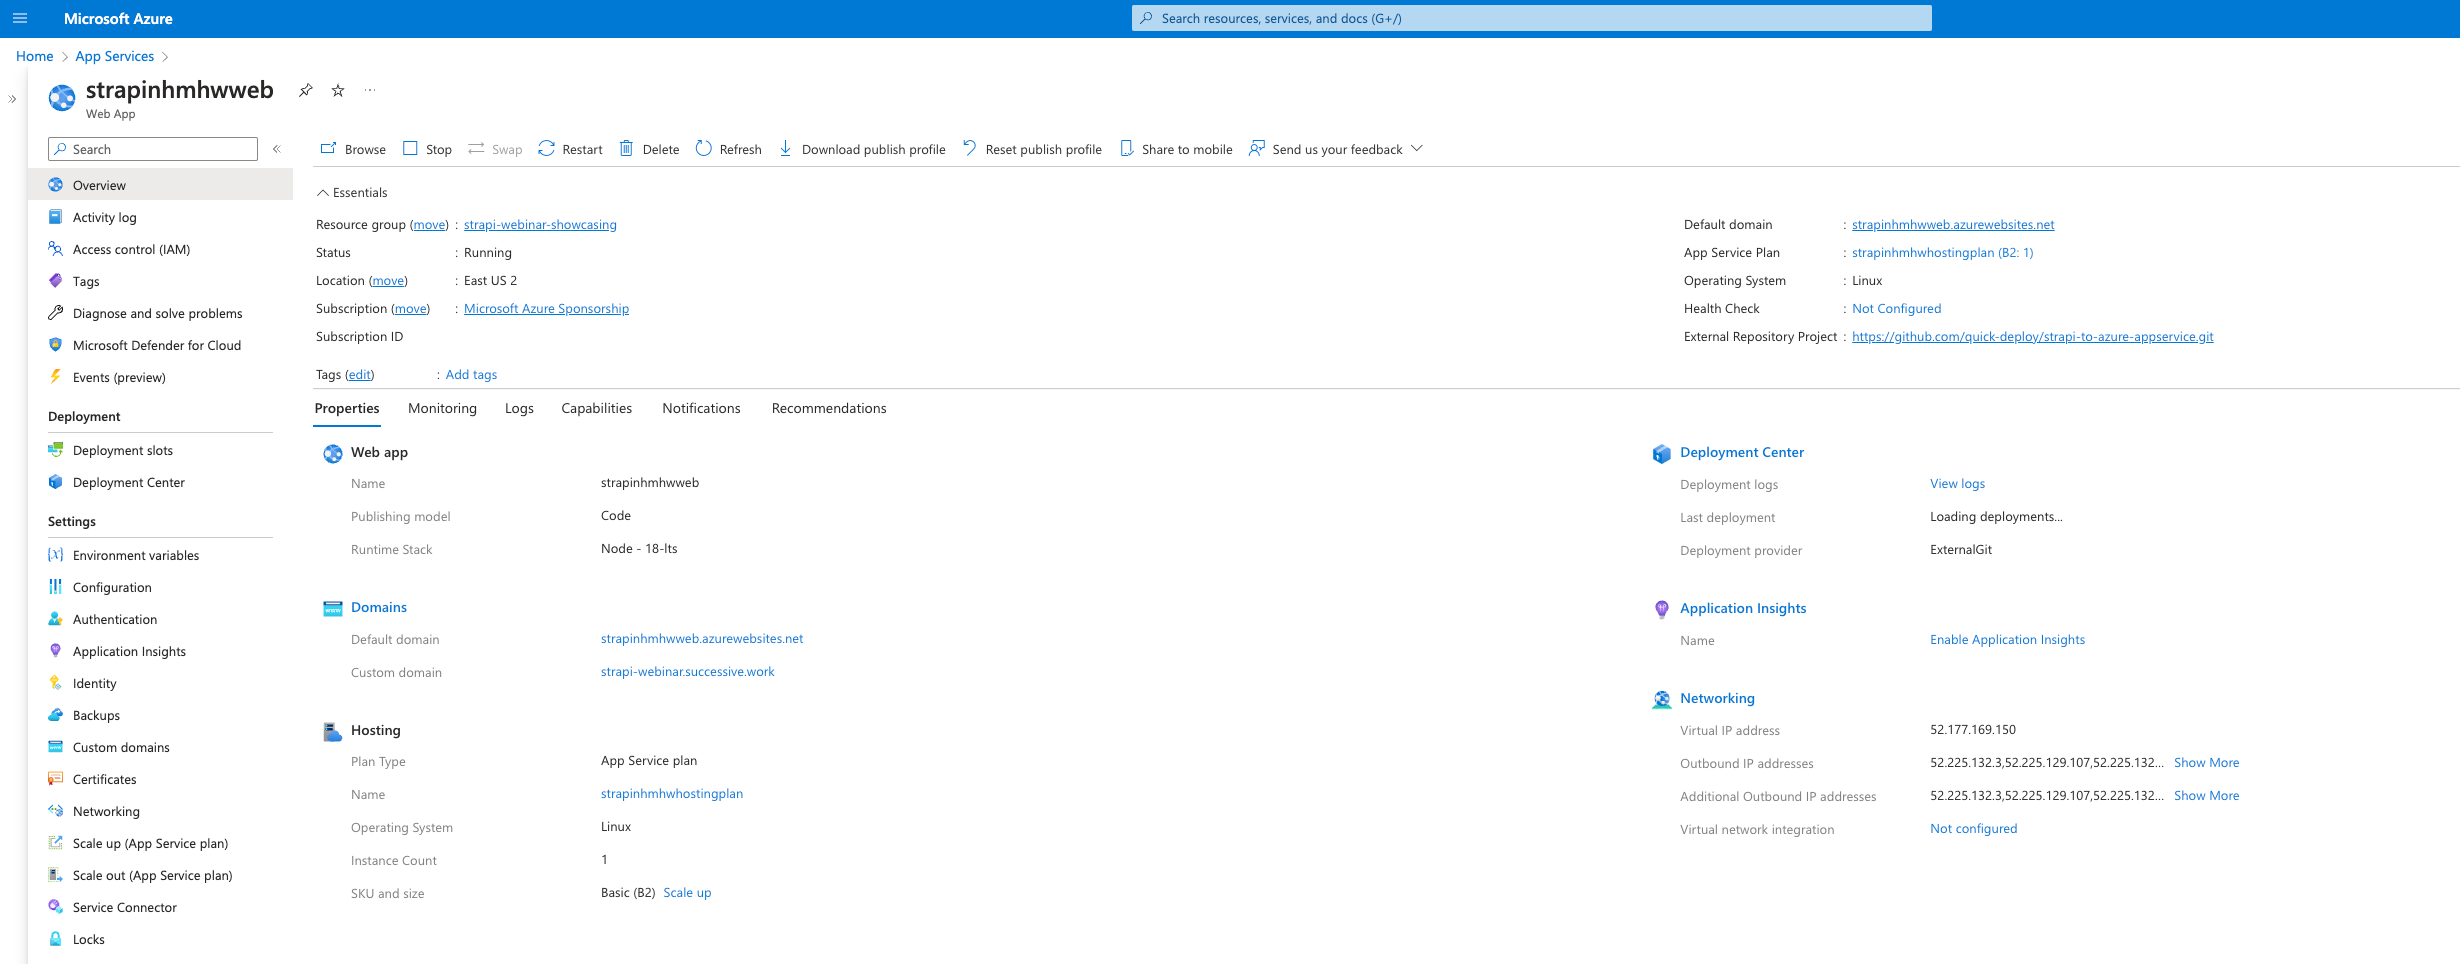
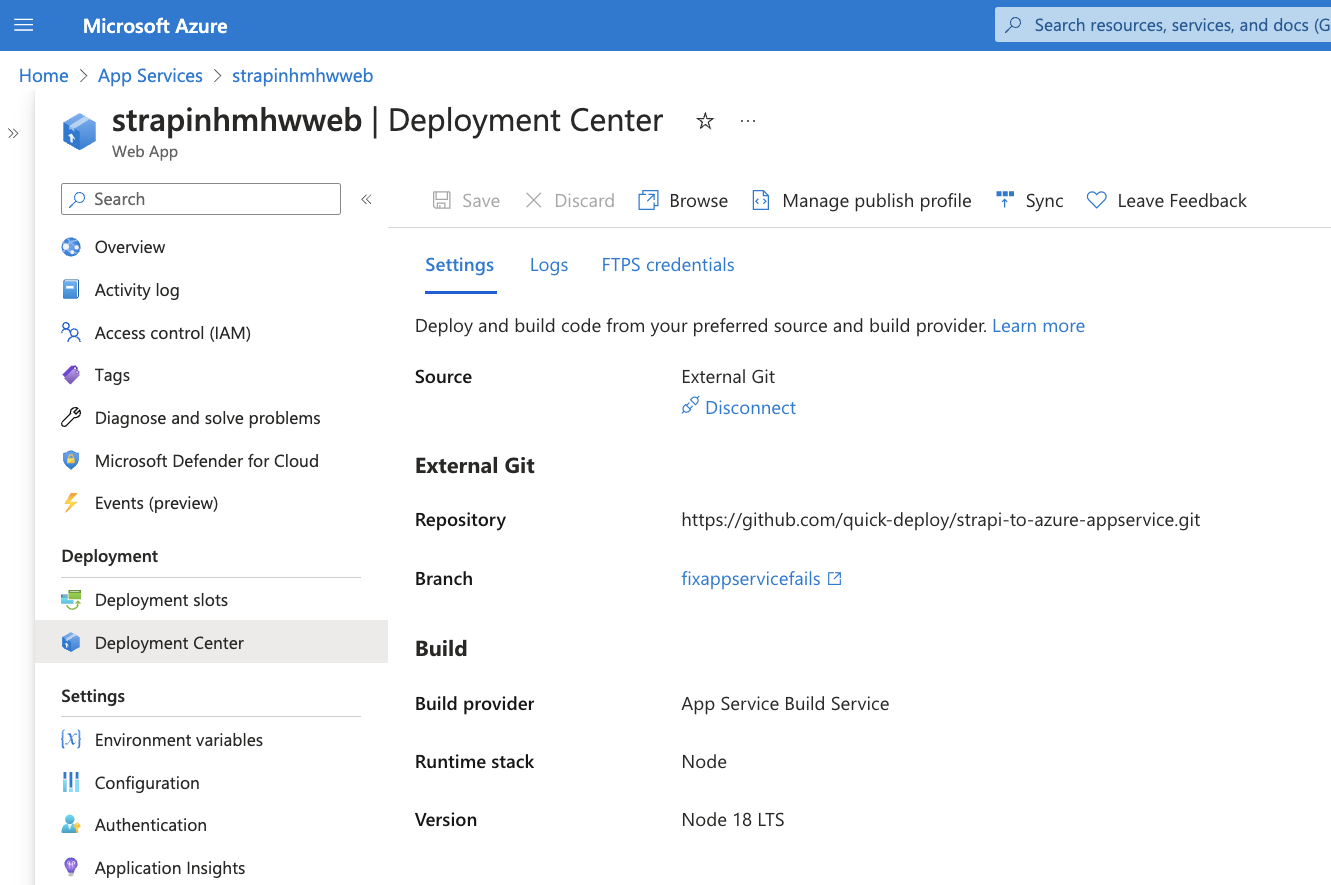
Step 5: Deployment Center
The Deployment Center provides a centralized view of all deployment methods for your app. Configure continuous delivery pipelines from source control or container registries. Integrate your GitHub repository to your Azure Web App using the Deployment Center. Authorize your GitHub repository with the Deployment Center.
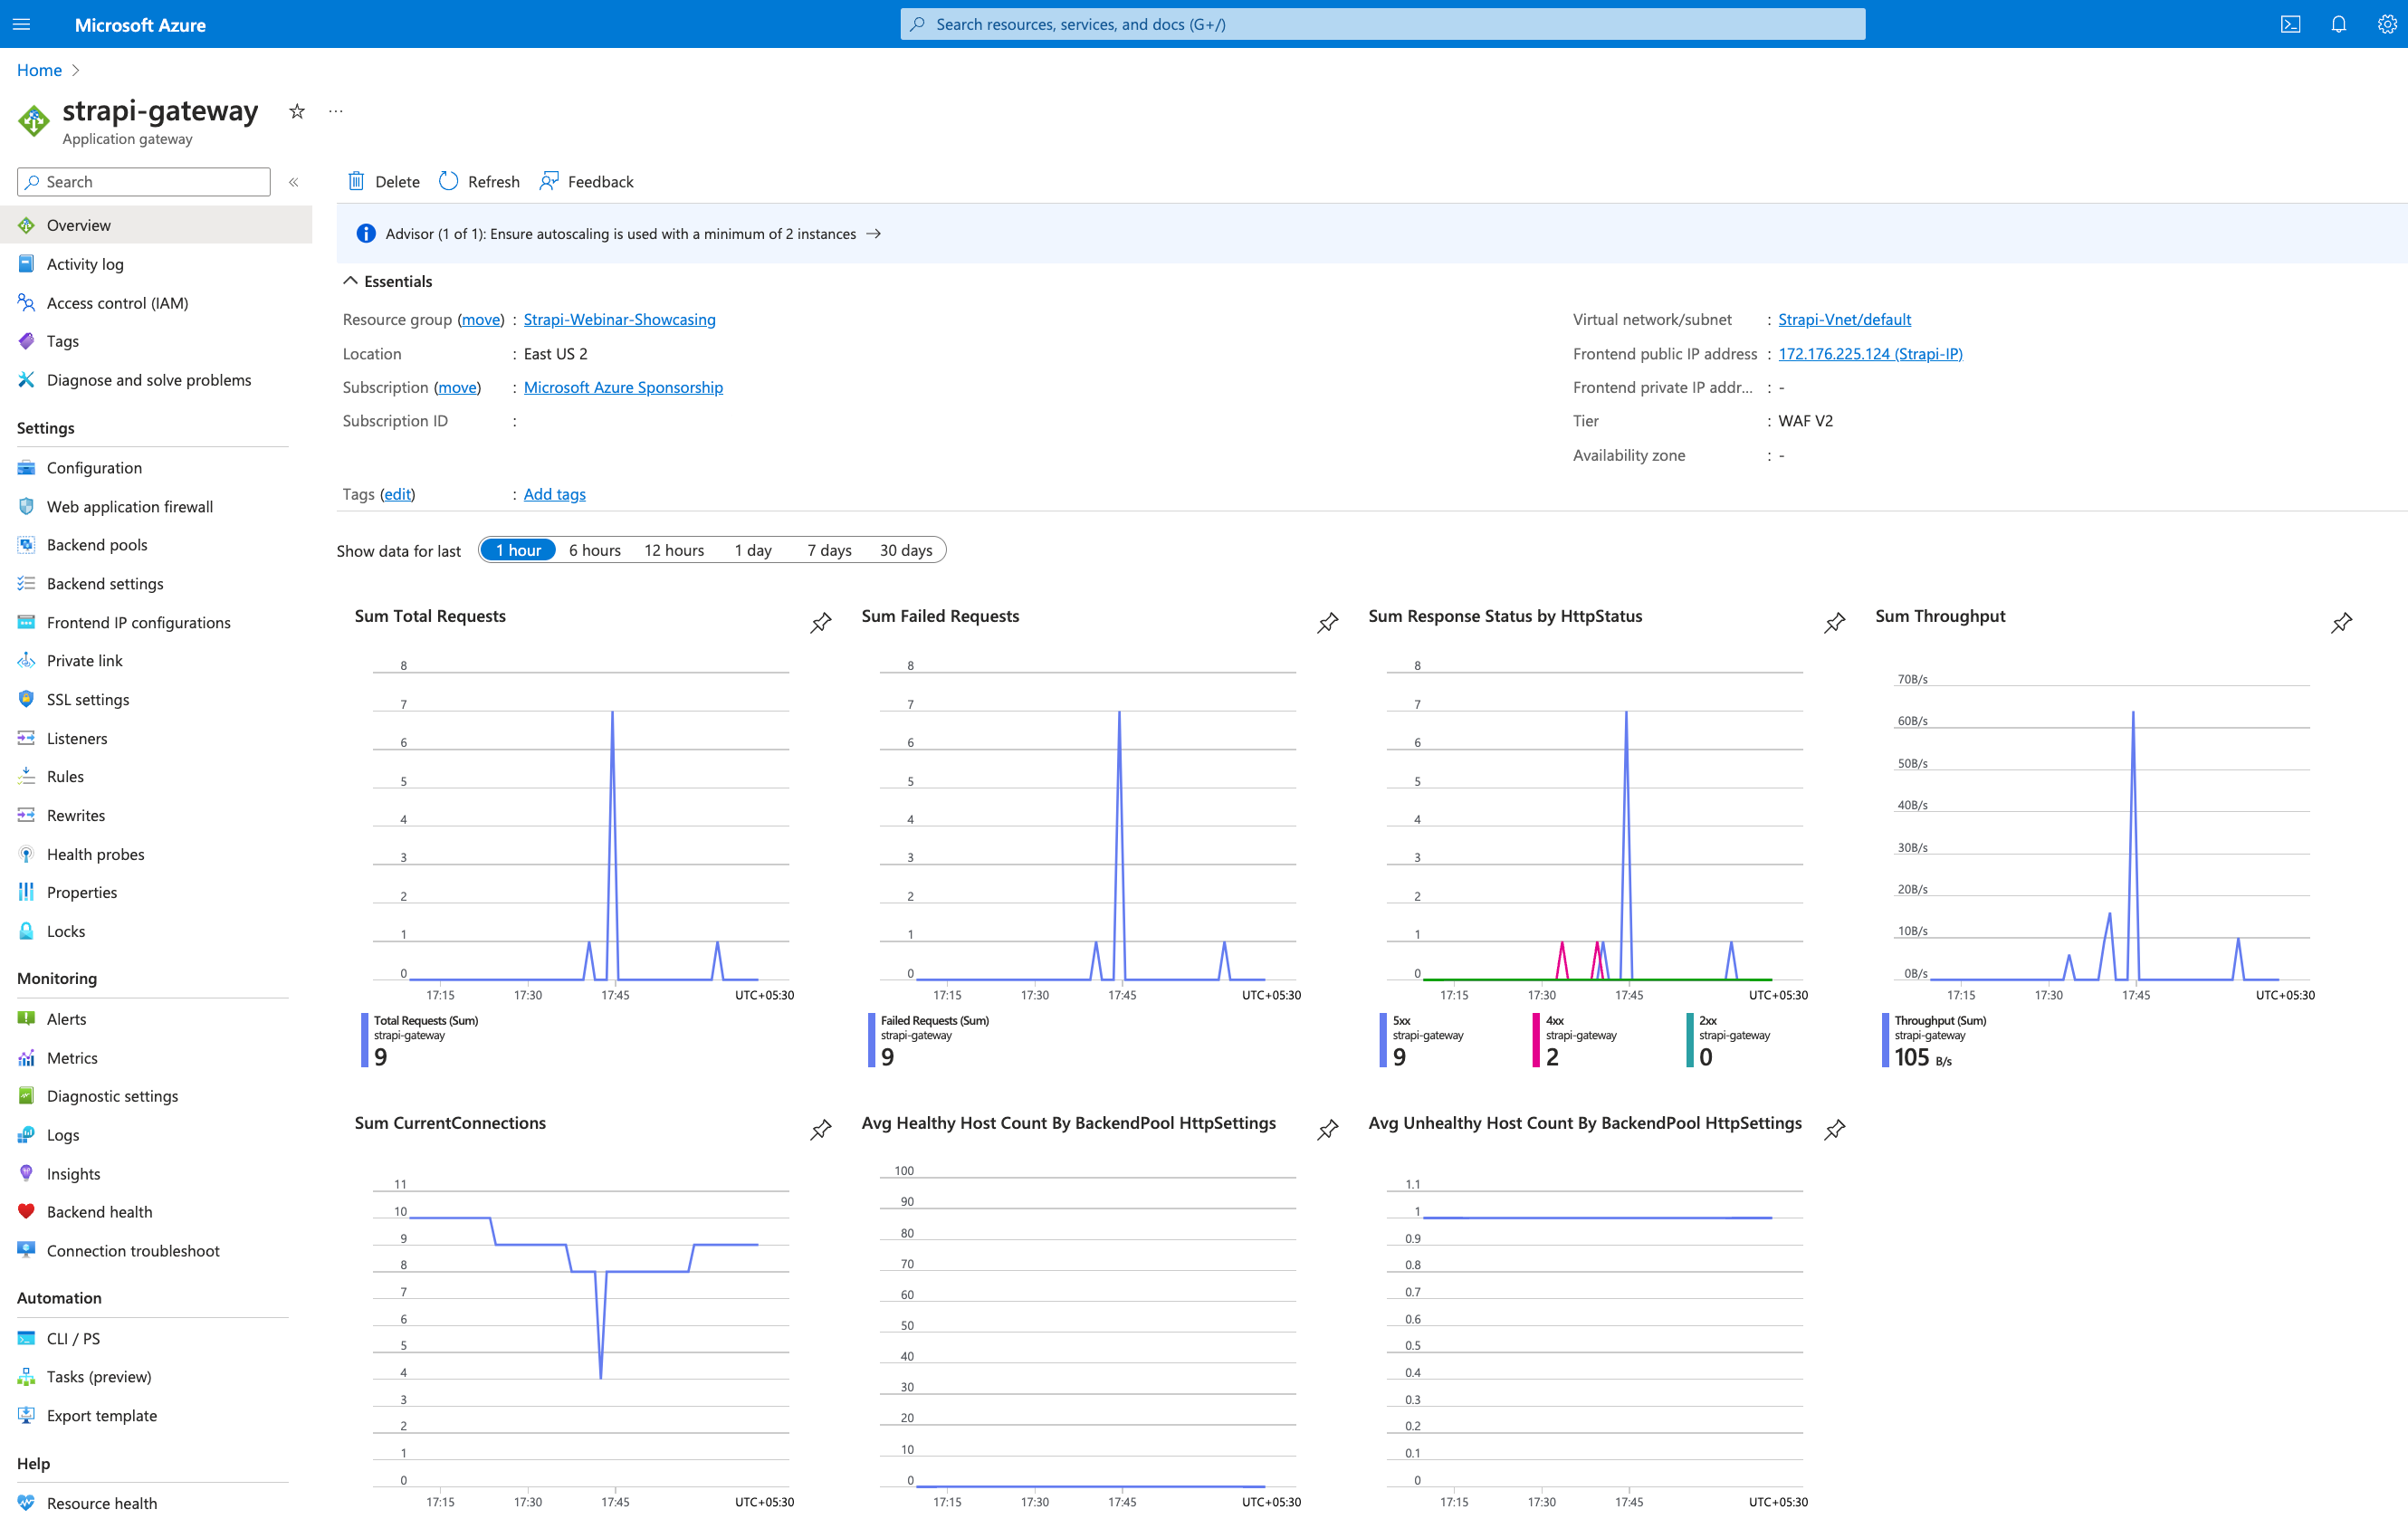
Step 6: Routing
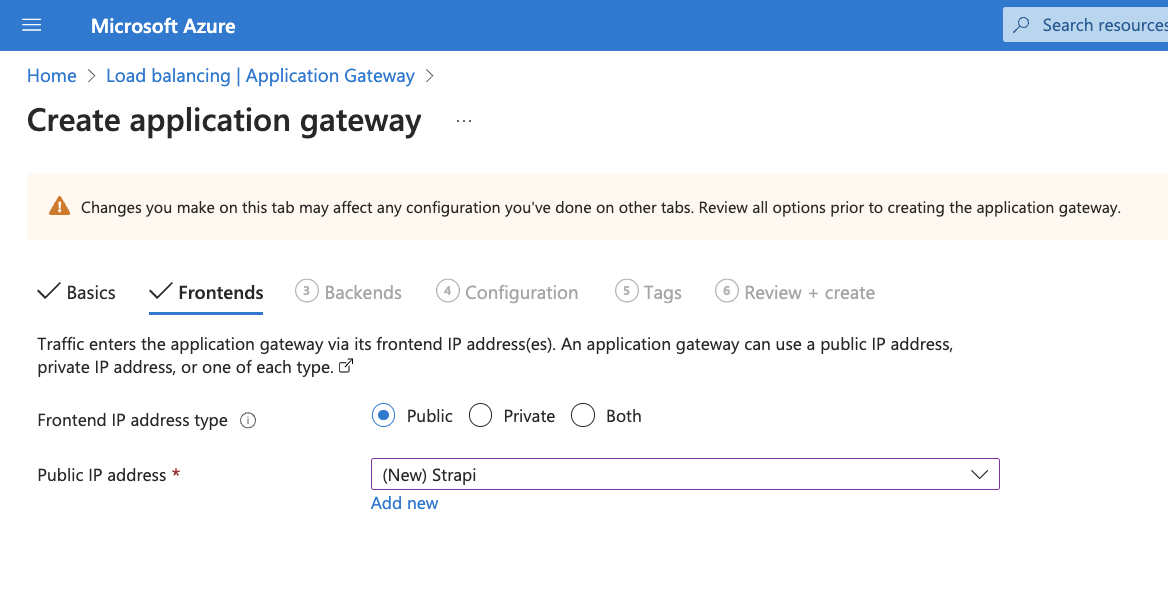
Routing is used to integrate multiple application services with frontend and profiles benefits like reverse proxing, load balancing etc. API Gateway can be used to configure routes in Azure.
Please follow these steps to configure API Gateway with strapi app service
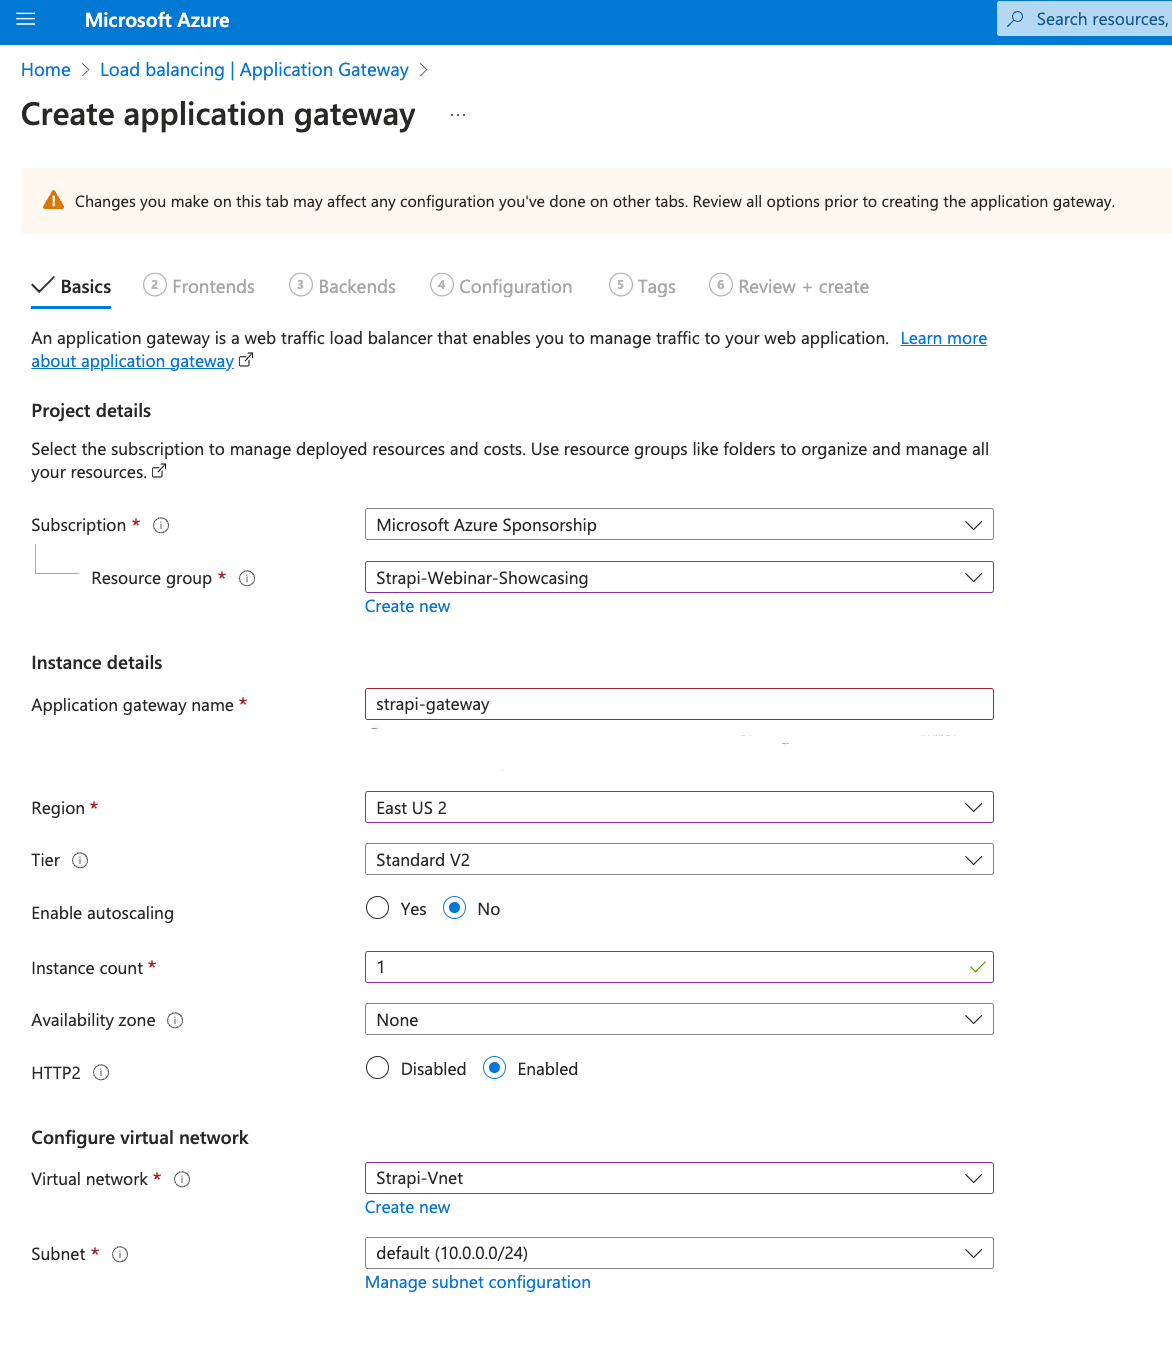
Add the new Public IP address for your application gateway.
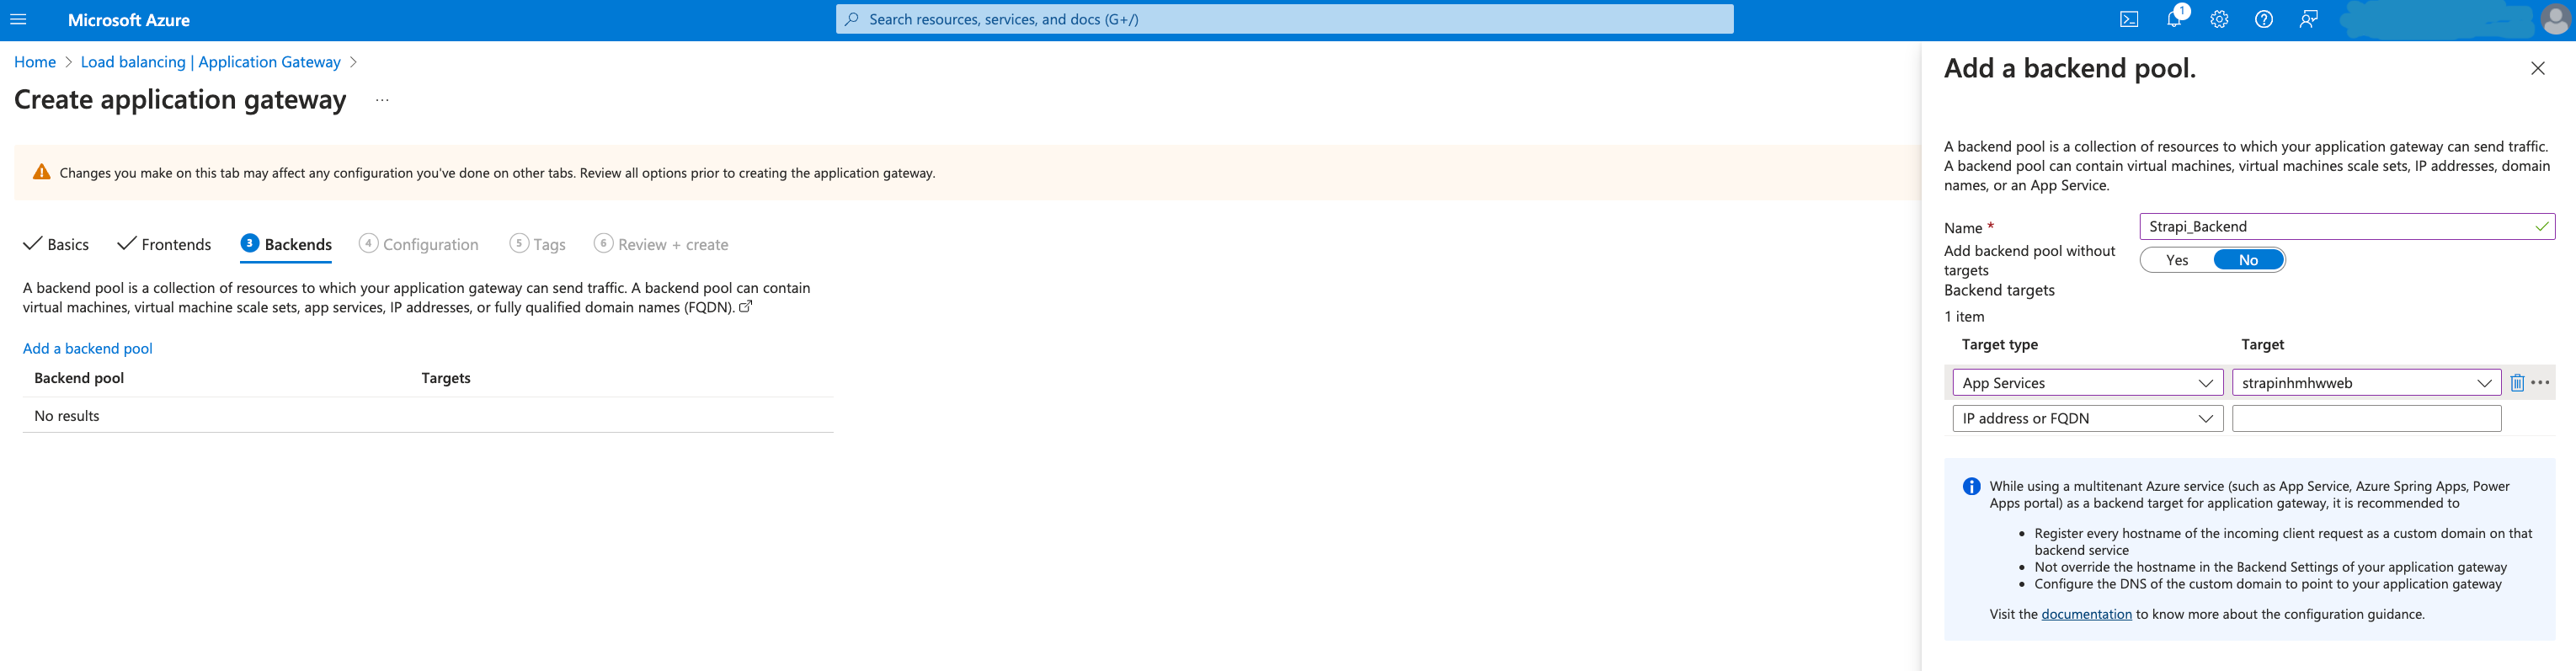
Add the Backend Pool configuration for your application gateway.
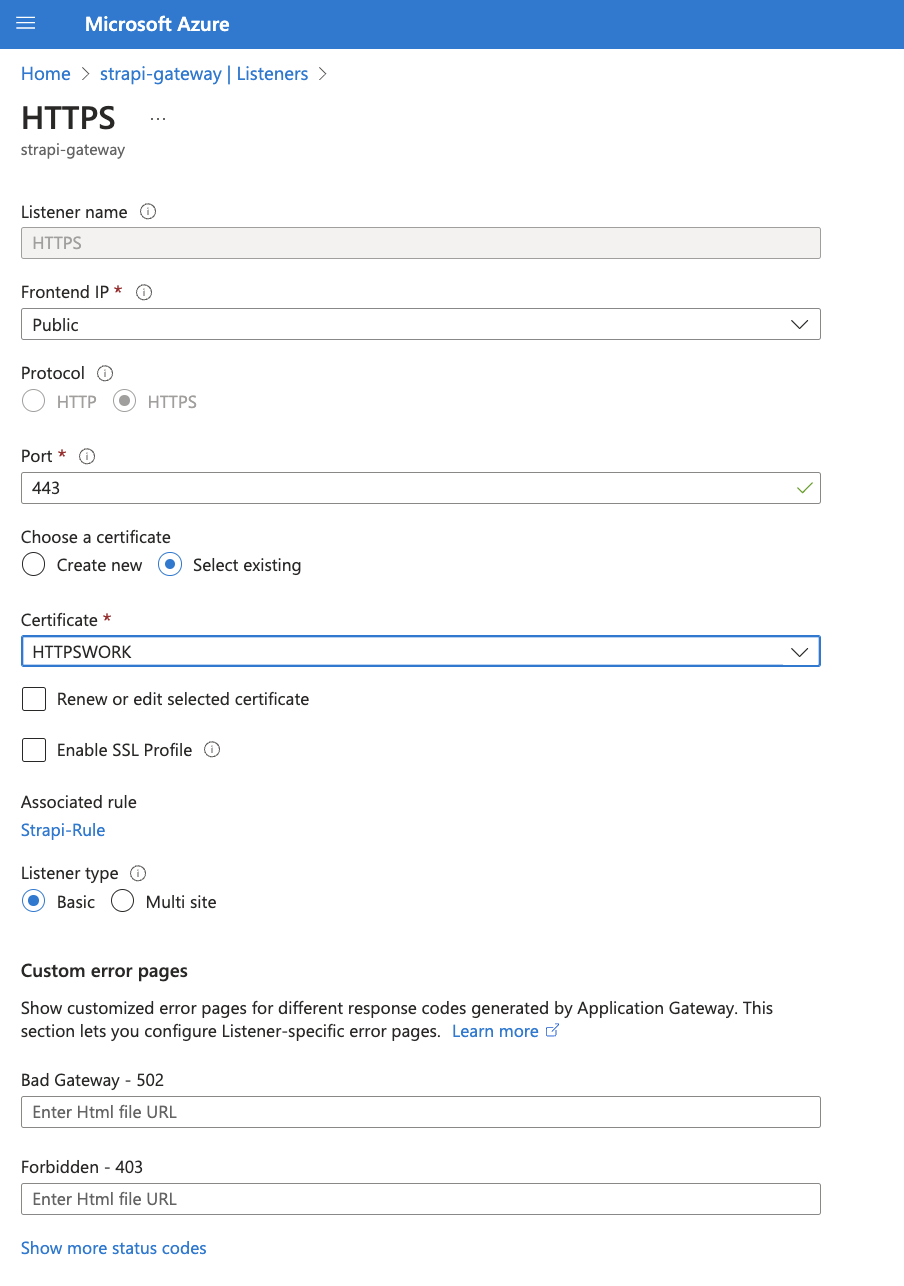
Add the Rule, Listener, and Backend Targets for your application gateway.

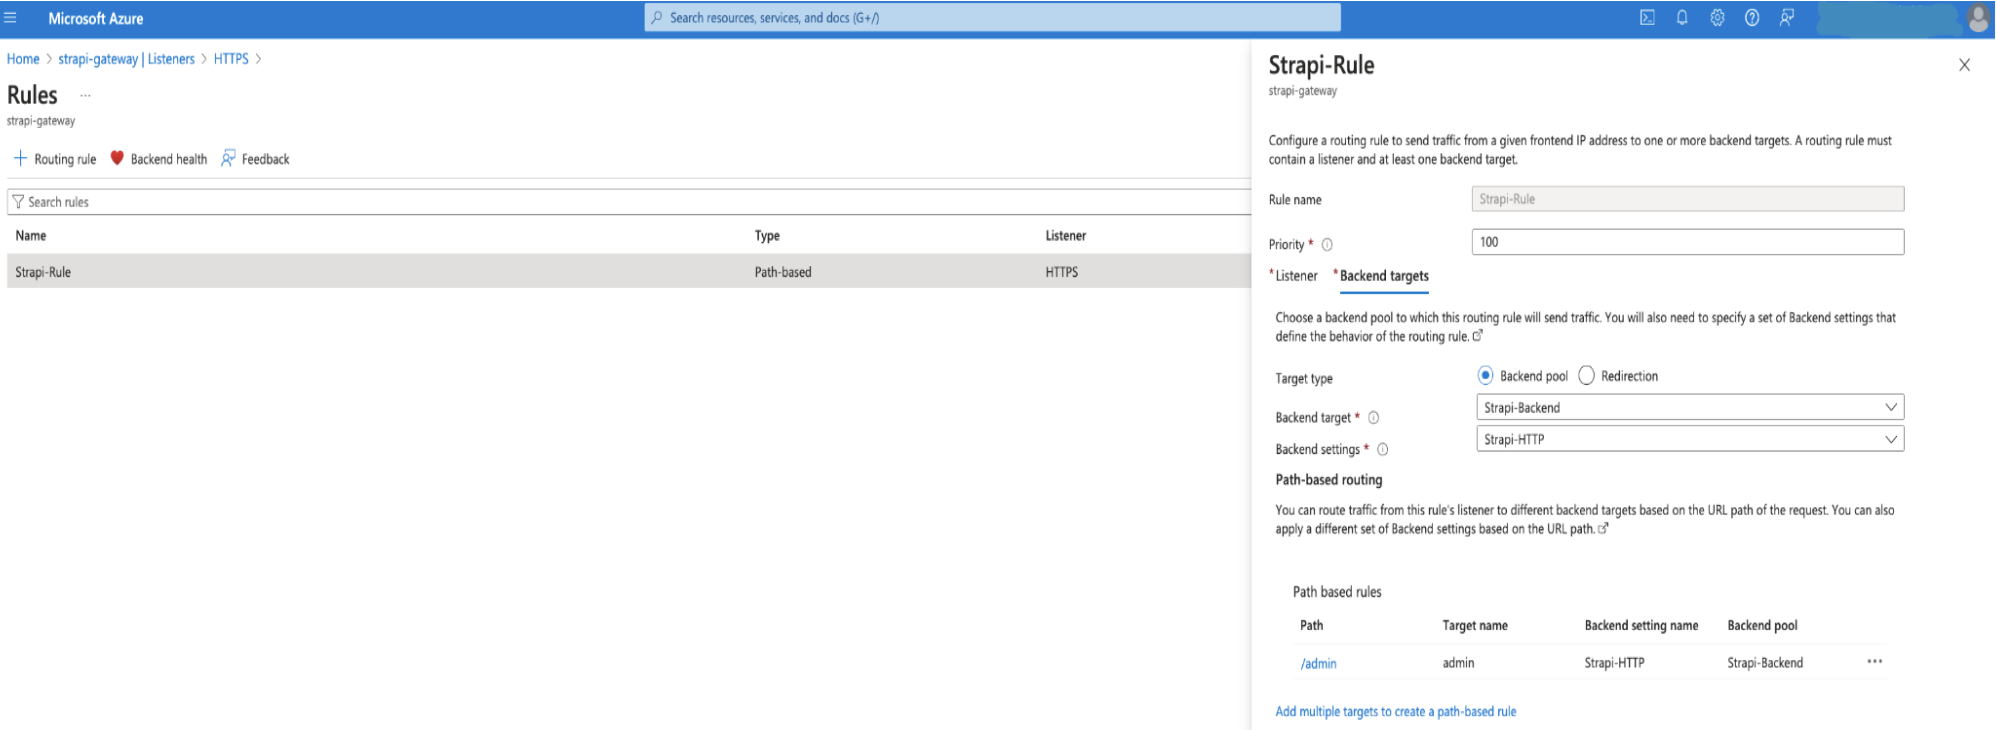
Once these steps are done you will be able to see Strapi API Gateway overview page as follows.
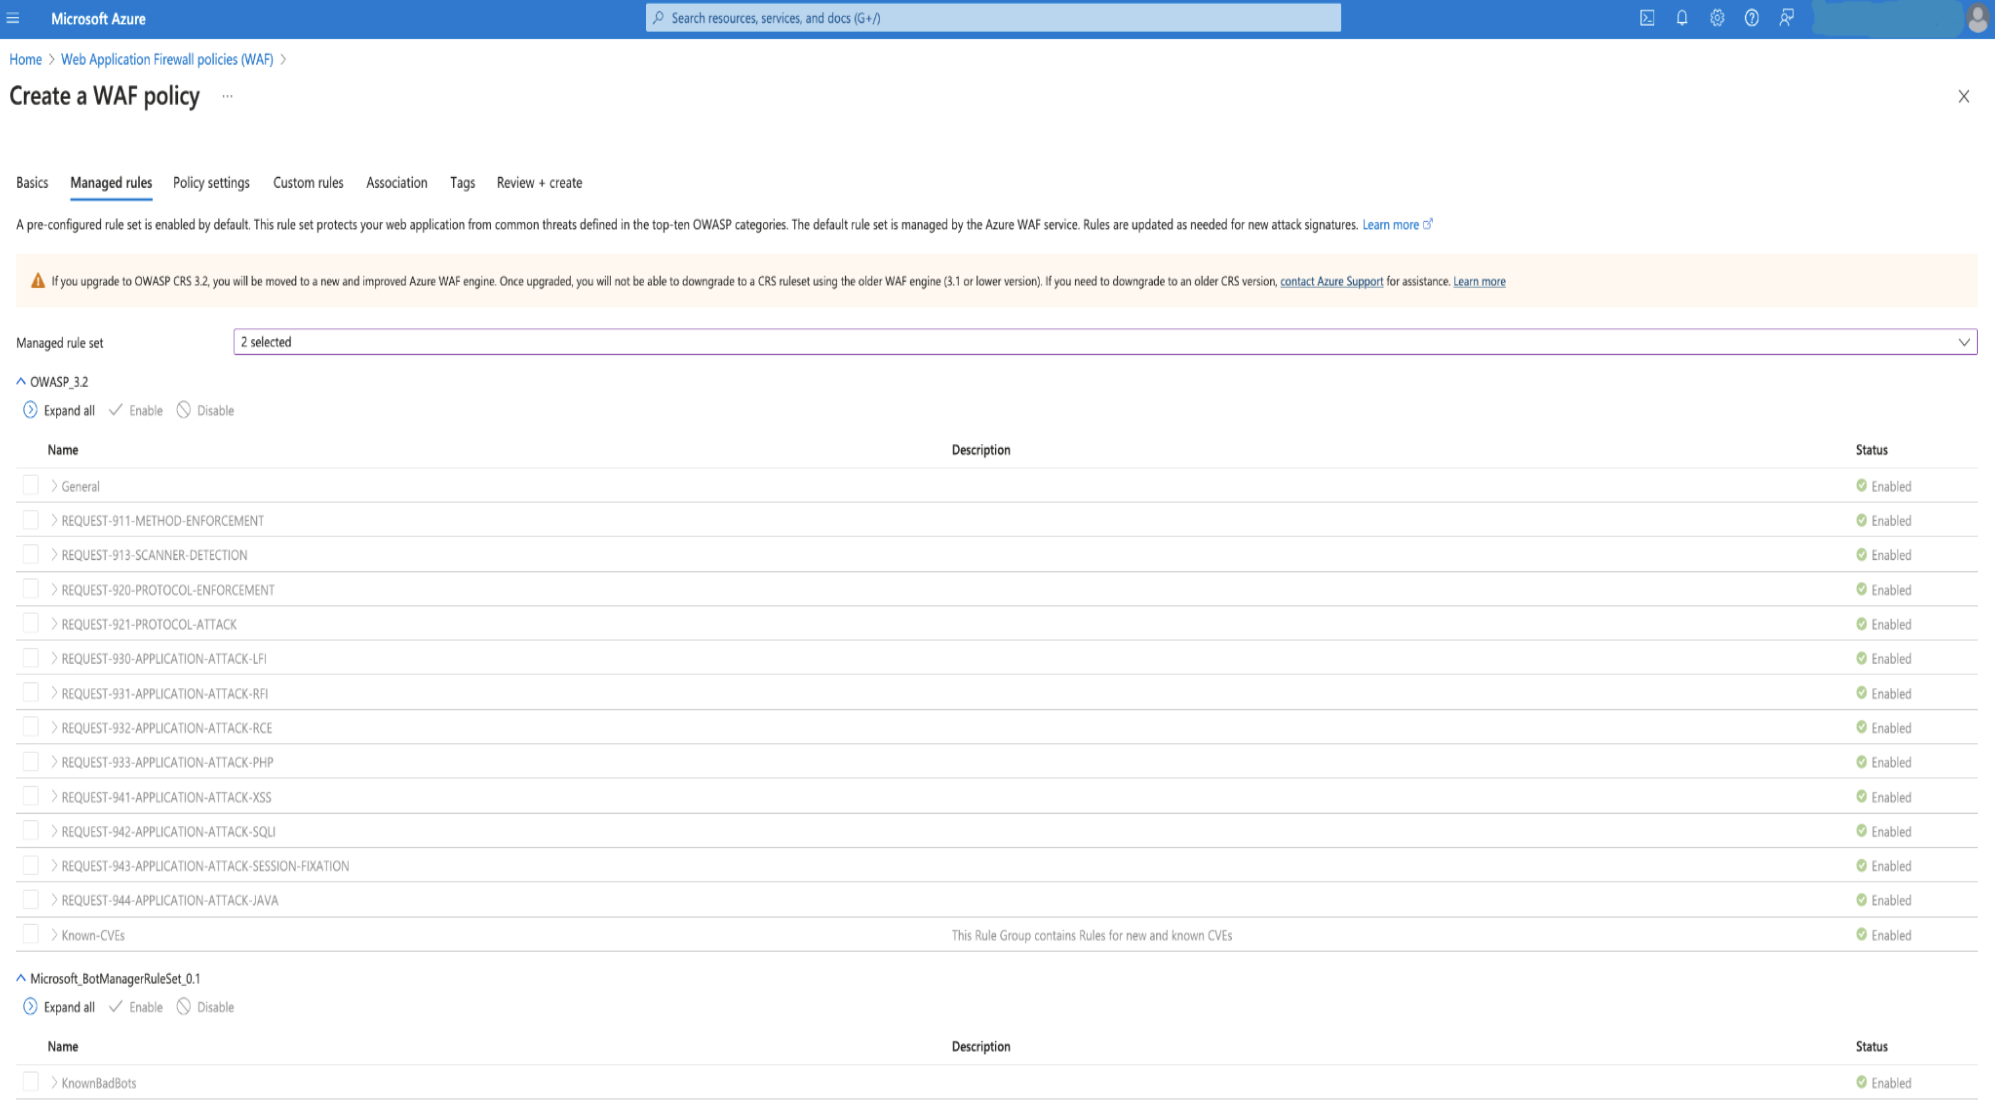
Step 7: Security
We also have to consider mitigating attack vectors like SQL Injection, HTML injection, XSS etc. For this implement a Web Application Firewall (WAF).
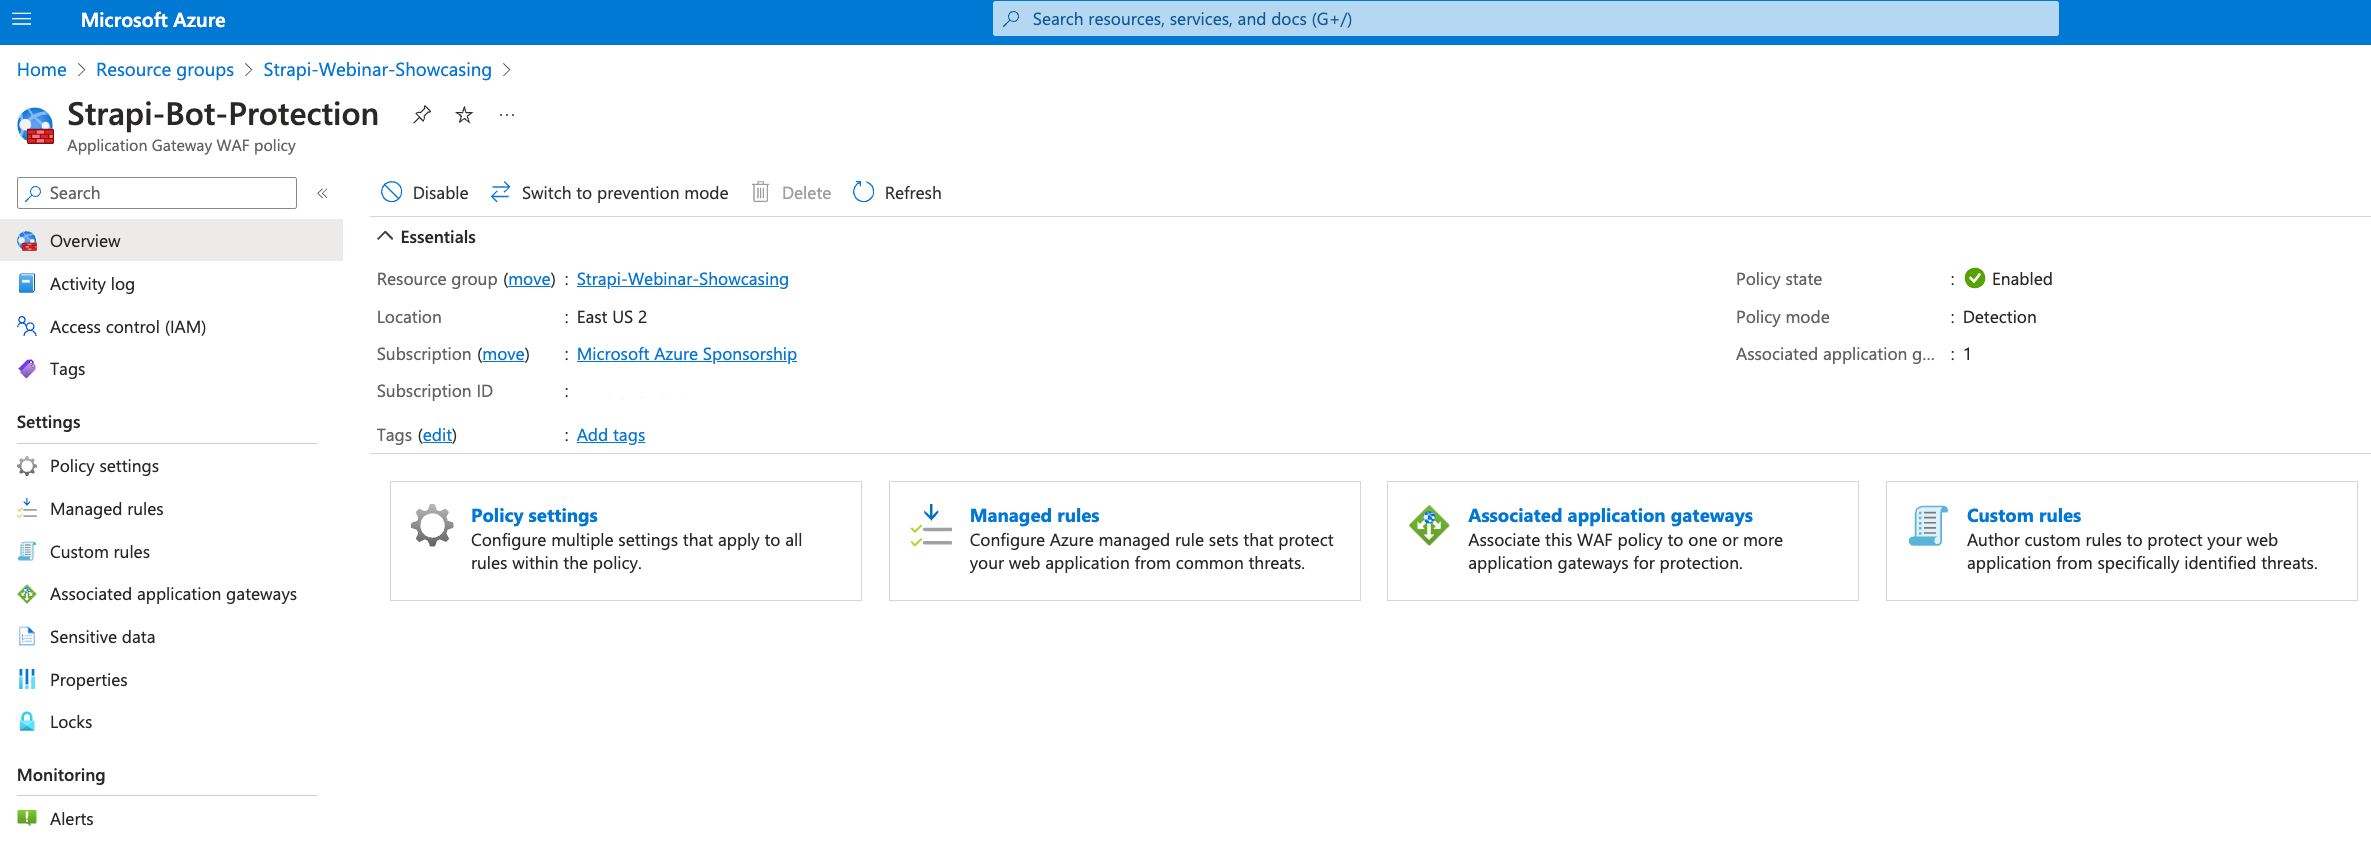
Please follow the steps to add WAF Policy.

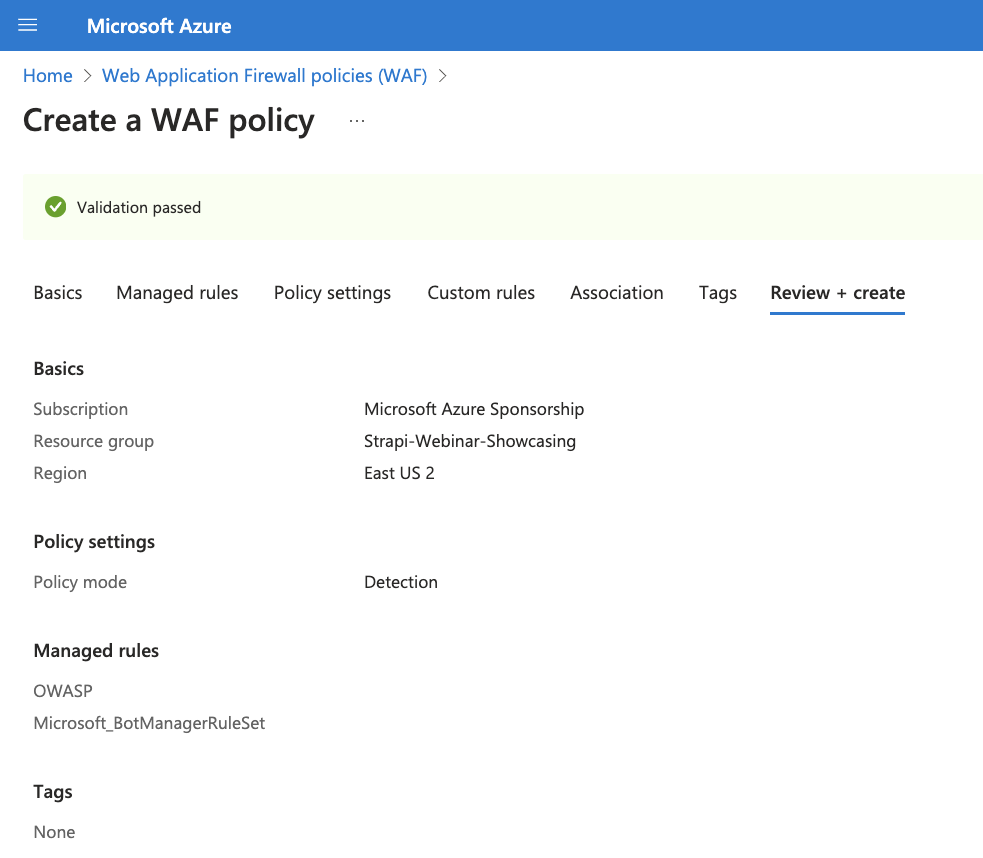
Once above configuration is done you can review the changes in following WAF overview page.
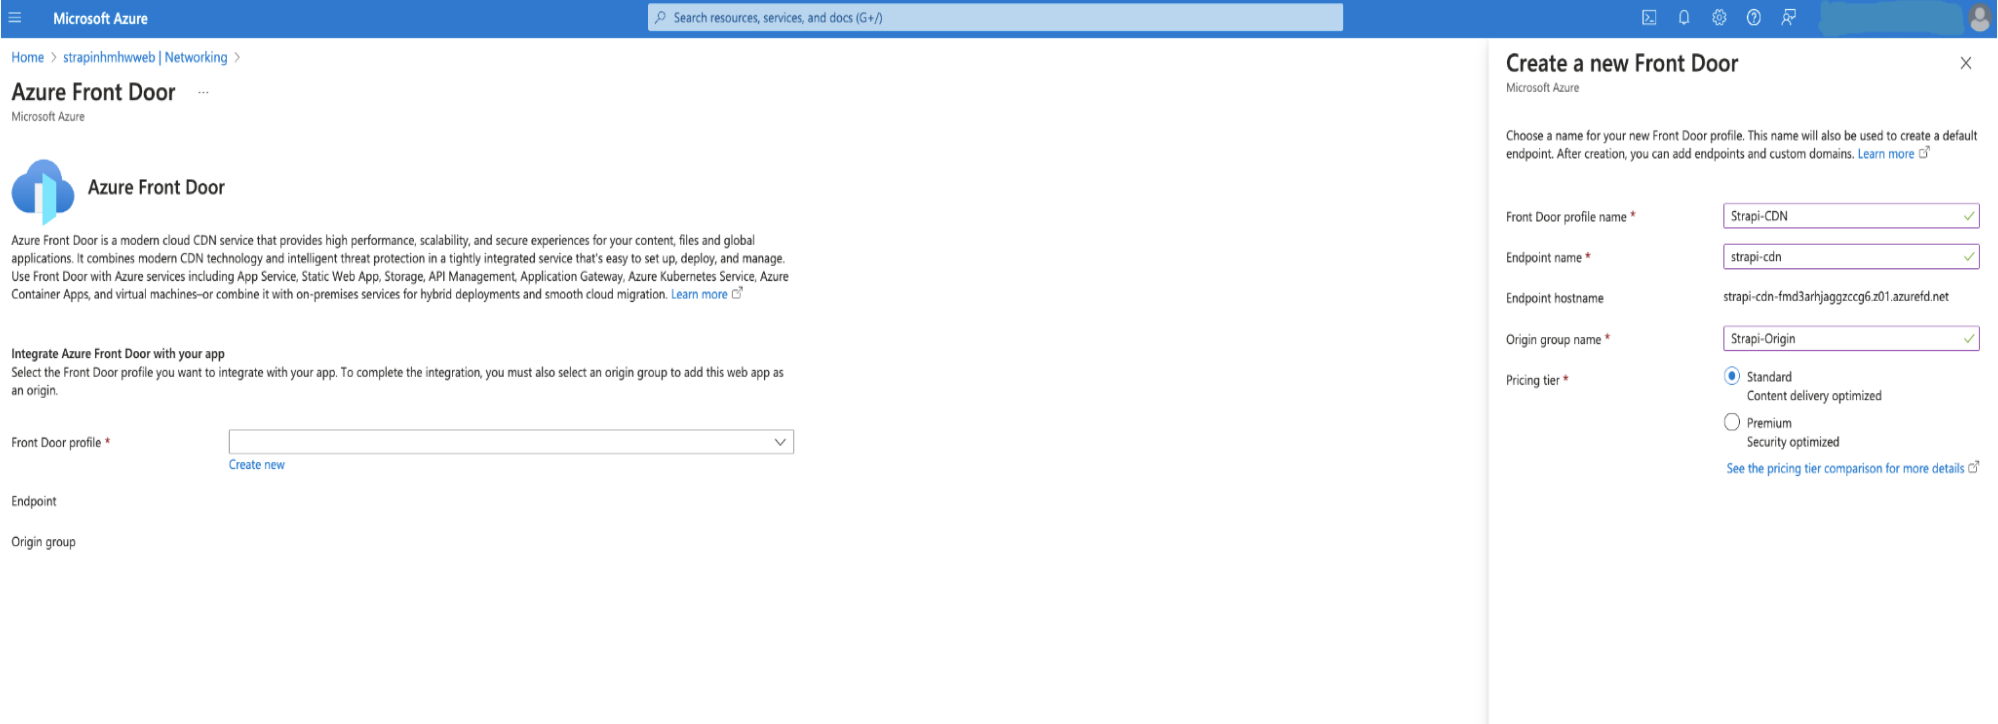
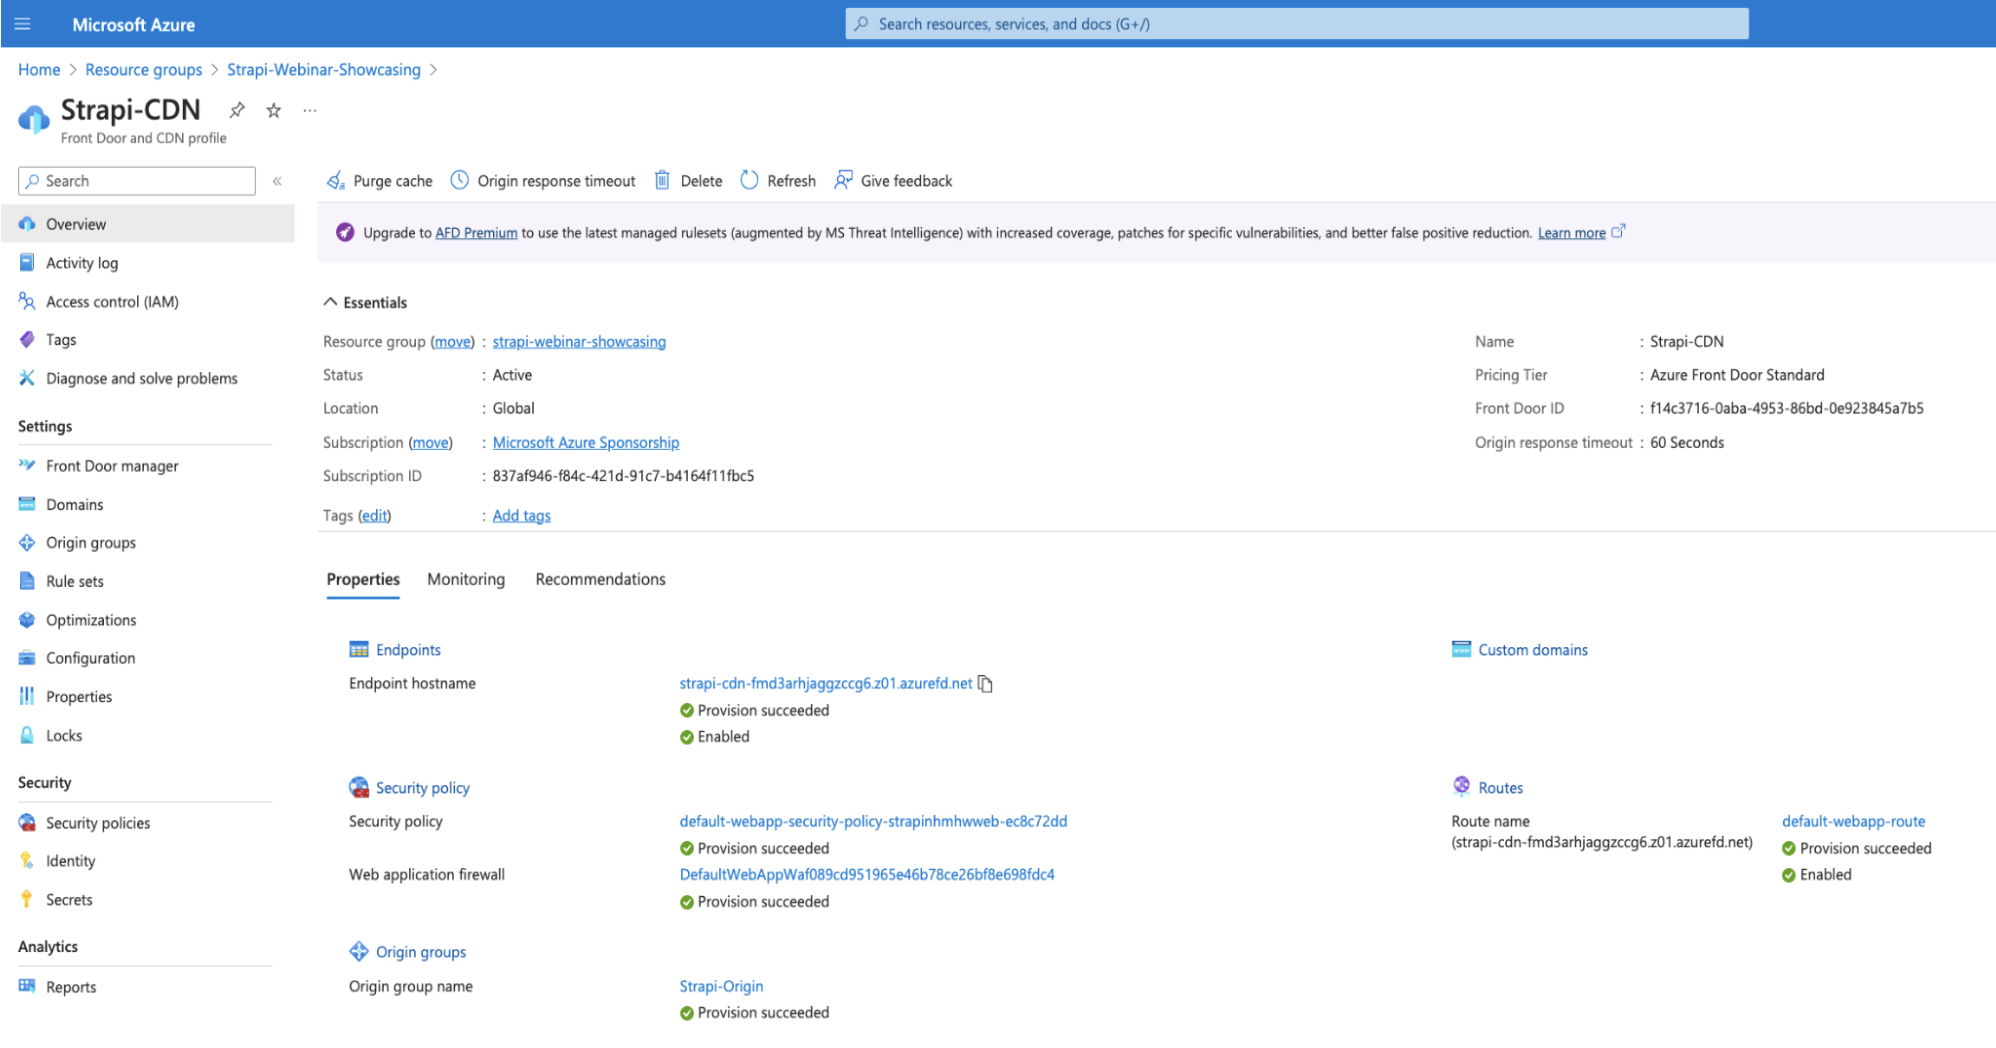
Step 8: Optimization
Implement a Content Delivery Network (CDN) to improve the application’s performance using Azure Front Door.
Remember to replace placeholders (e.g., my-strapi-app, my-strapi-db) with your actual resource names.
Note: By following these steps, your Strapi application will be up and running on Azure. You can also customize your app and add additional features as per your requirements by consulting Strapi solution experts.
Conclusion
In the current scenario where content is overruling making or breaking of a deal, businesses are leveraging Strapi CMS to manage and deliver their content. However,
they must also utilize a robust cloud platform to securely host their Strapi web application. One such platform is Azure Service Apps, a reliable platform-as-a-service-based solution that enables seamless app deployment.
Are you ready to unleash content with Strapi powered by Azure Service Apps? Get in touch with our Strapi experts at Successive Digital today!